Rocky Road Cookies Recipe
There’s something undeniably delightful about rocky road cookies a treat that masterfully blends the richness of chocolate, the crunch of roasted nuts, and the gooey indulgence of marshmallows. These cookies bring together classic flavors in a way that feels both familiar and luxuriously decadent. Every bite offers layers of taste and texture, from the dense chocolatey base to the pops of melted marshmallow and crispy nut bits. They’re the ultimate combination for anyone who loves a dessert that’s both chewy and crispy, soft yet firm.
These rocky road cookies are incredibly versatile, fitting for both a cozy winter afternoon by the fire and as a show-stopping addition to a holiday dessert spread. Whether it’s for a festive gathering, a family get-together, or simply a much-needed chocolate fix, Rocky Road Cookies rise to any occasion. Their warm, comforting profile makes them a crowd-pleaser that never disappoints.

Ingredients Breakdown
Creating these rocky road cookies begins with carefully chosen ingredients that each play a role in achieving the perfect balance of flavor and texture.
Essential Ingredients You’ll Need
The key ingredients like softened unsalted butter, soft brown sugar, and pure vanilla extract lay the foundation for a cookie that’s both rich and subtly flavored. Butter gives that melt-in-the-mouth quality, while the combination of brown and granulated sugar creates a texture that’s tender in the center yet slightly crisp on the edges. Vanilla extract provides a delicate aroma, enhancing the chocolate without overpowering it.
Choosing the Right Nuts
The choice of nuts, whether roasted salted almonds or peanuts, is vital for adding that characteristic crunch and a bit of saltiness that contrasts beautifully with the sweet chocolate and marshmallow. Almonds offer a slightly milder flavor, while peanuts introduce a hint of nostalgia, reminiscent of traditional rocky road flavors. Whichever you choose, make sure they’re chopped just right not too big, not too fine, so they distribute evenly through the dough.
All About the Chocolate
High-quality chocolate chips and unsweetened cocoa powder are what make these rocky road cookies deeply satisfying. The chocolate chips melt into gooey pockets throughout the cookie, while the cocoa powder intensifies the flavor of the dough. The balance between these two chocolate components is what gives these cookies their intensely rich flavor, making every bite a chocolate lover’s dream.

Step-By-Step Instructions
Preparing the Dough
Start by creaming the butter and sugars until they’re light and fluffy. This step is crucial because it creates air pockets in the dough, leading to a softer, more tender cookie. Next, add the egg and vanilla extract, blending until the mixture is smooth. This creates the wet base for the dough, which helps in binding everything together.
In a separate bowl, sift together the cocoa powder, flour, baking soda, cornstarch, and salt. This dry mixture is then slowly incorporated into the wet ingredients, blending gently to avoid overmixing, which can make the cookies dense. Finally, fold in the chocolate chips and nuts, ensuring an even distribution throughout the dough.
Incorporating Marshmallows for a Gooey Center
The magic of these cookies lies in their marshmallow centers. To achieve this, scoop out the dough and flatten each portion in your hand. Place a marshmallow in the center, then fold the dough around it, leaving a small bit peeking through the top. This ensures the marshmallow melts just right, creating a gooey center without completely disappearing into the dough.
Baking to Perfection
Space the dough balls a couple of inches apart on a parchment-lined baking sheet and bake at 350°F for 10-12 minutes. Keep a close eye as they bake; the cookies should appear slightly underbaked when you remove them from the oven. They’ll firm up as they cool, resulting in a perfect texture that’s soft in the middle and crisp around the edges.
Final Touches for Presentation
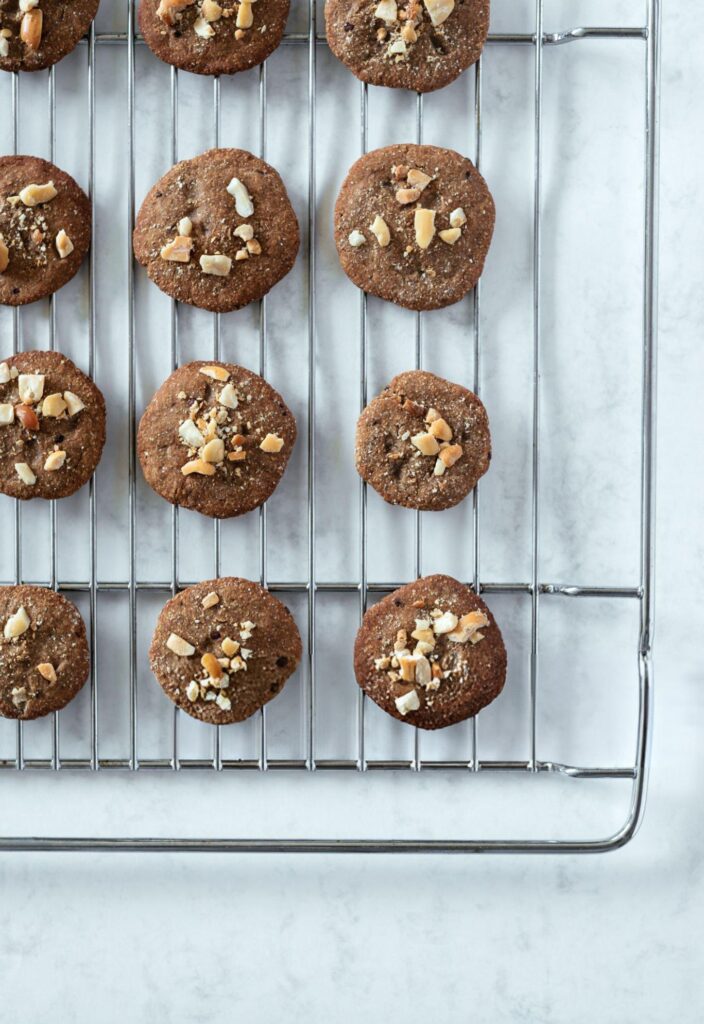
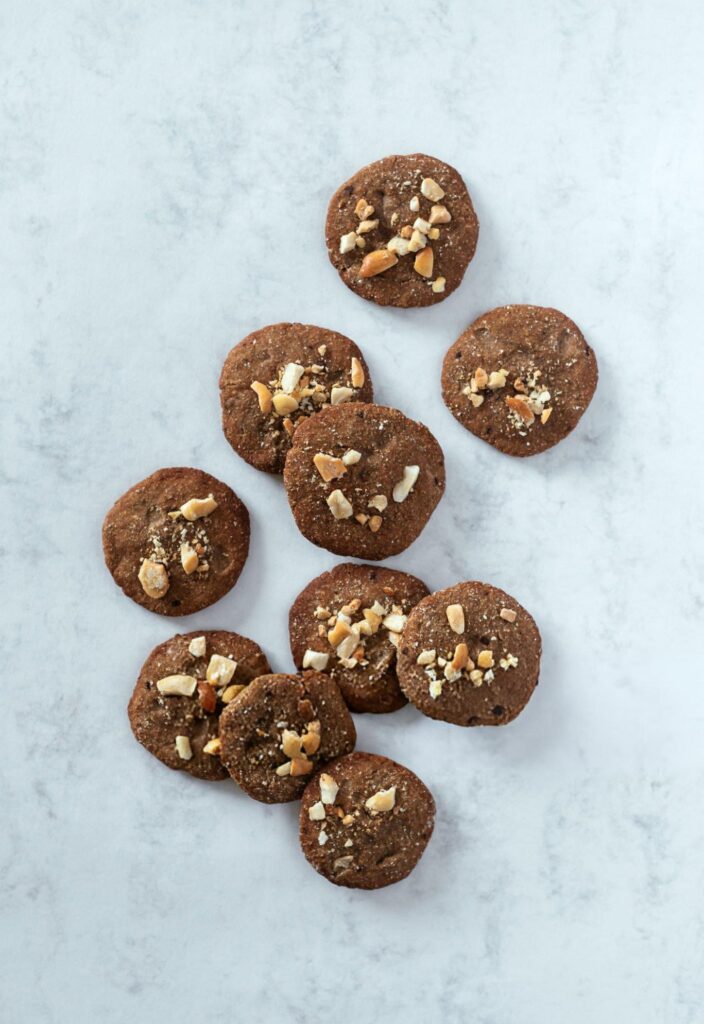
While the cookies are still warm, give them that bakery-style look by adding extra chocolate chips and nuts on top. These garnishes not only add to the visual appeal but also enhance the flavor with a final hit of crunch and chocolate. For perfectly round cookies, you can use a round glass or cookie cutter to gently nudge the edges while they’re still hot, or use the back of a spoon to adjust the shape.
Recipe Tips & Frequently Asked Questions
- Avoid Sticky Dough Problems: If the dough is too sticky to handle, refrigerate it for 30-60 minutes. This makes it easier to wrap the dough around the marshmallows without it sticking to your hands.
- Achieving Perfectly Round Cookies Every Time: For a pro touch, use a round cookie cutter or glass to gently shape the cookies while they’re still hot. The residual warmth allows you to nudge the edges for a uniform appearance.
- How to Keep the Marshmallows Soft and Chewy: Don’t overbake the cookies. Remove them from the oven when they still appear slightly underdone; they’ll continue to set as they cool, leaving the marshmallows perfectly gooey.
- Can I Use Different Types of Nuts?: Absolutely. Try substituting with pecans, walnuts, or even pistachios if you prefer or if allergies are a concern.
- Why Is My Dough So Sticky?: If the dough feels too soft, it may be because the butter was overly softened. Refrigerating the dough will help you manage it better.
- How Do I Store Rocky Road Cookies?: Store them in an airtight container at room temperature for up to three days or freeze them to extend their shelf life.
- Can I Use Mini Marshmallows Instead of Large Ones?: Yes, mini marshmallows can work well as a substitute, though they may melt more quickly and blend into the dough differently.
What to Serve with This Recipe
Pairing Rocky Road Cookies with the right accompaniments can elevate the experience. For a cozy treat, serve them with a cup of rich hot chocolate or a warm mug of coffee. The warmth of the drink complements the gooey marshmallow and chocolate in the cookie. For a refreshing contrast, enjoy them with a glass of cold milk, which balances the sweetness and brings out the flavors.
If you’re feeling a little more adventurous, serve these cookies with a scoop of vanilla or chocolate ice cream. The ice cream’s creaminess provides a delightful contrast to the chewy, crunchy texture of the cookies. Whipped cream on the side or drizzled over the cookies adds a touch of luxury, perfect for special occasions.

Variations and Customization Ideas
There’s no limit to the variations you can try with Rocky Road Cookies. Experimenting with different types of chocolate, like dark or white chocolate chips, can bring a new flavor profile. For an extra touch of sweetness, try mixing in caramel bits or dried fruits like cherries. Coconut flakes or even a dash of cinnamon can add a unique twist for those who enjoy a more complex flavor.
Creating a batch for different tastes? For kids, keep the recipe as is, with its sweet, gooey marshmallow center. For adults, consider reducing the sweetness slightly or adding a hint of sea salt on top to enhance the chocolate.
Final Thoughts and Serving Suggestions
Rocky Road Cookies make for fantastic homemade gifts. Their distinct flavor and attractive appearance make them a thoughtful and delicious gift, ideal for holidays or birthdays. To package them for friends or family, consider using a decorative tin or a box lined with parchment paper.
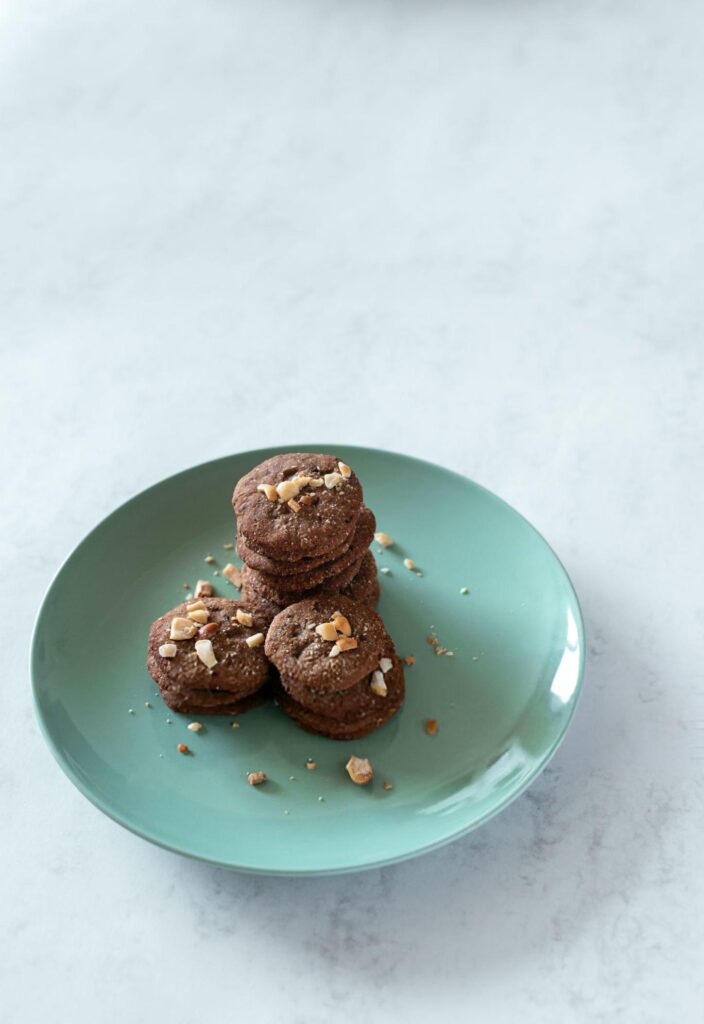
To keep any leftovers fresh, store these cookies in an airtight container at room temperature. They’ll stay soft and delicious for several days. Alternatively, freeze them individually and thaw as needed to enjoy these delightful cookies whenever the craving hits. Whether for personal enjoyment or sharing, Rocky Road Cookies are a delightful treat that never goes out of style.

Rocky Road Cookies
Ingredients
- 1 large egg
- ⅓ cup granulated sugar
- ⅔ cup light brown sugar soft and fresh
- ½ cup unsalted butter slightly softened but still cool
- 1 teaspoon pure vanilla extract
- 1 cup plus 2 tablespoons all-purpose flour*
- ⅓ cup unsweetened cocoa powder
- ½ teaspoon baking soda
- 1 teaspoon cornstarch
- ¼ teaspoon salt
- ⅔ cup chocolate chips
- ⅓ cup chopped roasted salted almonds or peanuts
- 8-9 large marshmallows
- ¼ cup extra chocolate chips and nuts for topping the cookies
Instructions
- Preheat your oven to 350°F (175°C) and line two baking sheets with parchment paper for easy cleanup.
- In a large mixing bowl, using a hand mixer or a stand mixer with a paddle attachment, cream the butter with both sugars on medium speed until light and fluffy, around 1-2 minutes. Add the egg and vanilla extract, blending until fully incorporated and scraping down the sides as needed.
- In a separate bowl, sift together the cocoa powder, flour, baking soda, cornstarch, and salt. Gradually add this dry mixture to the butter mixture on low speed, mixing until just combined. Fold in ⅔ cup of chocolate chips and ⅓ cup of chopped nuts, ensuring they are evenly distributed throughout the dough.
- Portion out the dough using a 3-tablespoon cookie scoop (about 2 ounces per portion). Flatten each portion of dough in the palm of your hand, placing one marshmallow in the center. Wrap the dough around the marshmallow, leaving a bit of marshmallow peeking through the top. If the dough is too sticky or soft to handle, refrigerate it for 30-60 minutes to firm it up slightly.
- Arrange the prepared dough balls on the parchment-lined baking sheets, spacing them a couple of inches apart. Bake for 10-12 minutes, until the cookies have spread and the marshmallow centers are soft. The cookies should look slightly underbaked when removed from the oven, as they will firm up as they cool. Once out of the oven, immediately place the baking sheets on wire racks.
To achieve perfectly round cookies:
- Option 1: Right after removing the cookies from the oven, take a round glass, bowl, or larger cookie cutter and place it over the top of each cookie. Gently swirl in a circular motion to nudge the edges inward, creating a perfect circle. This only works while the cookies are hot and on the baking sheet.
- Option 2: Alternatively, use the back of a spoon to carefully push any uneven edges inward, giving the cookies a neat, round appearance.
- While the cookies are still warm, sprinkle additional chocolate chips and chopped nuts on top. The warmth from the cookies will help these toppings adhere, adding texture and visual appeal. Allow the cookies to cool completely on the wire racks. Enjoy!
