Rich Rice Krispie Treats Recipe
There’s nothing quite like the nostalgic charm of Rice Krispie treats recipe. These timeless delights are a perfect blend of sweet, crispy, and gooey, making them a favorite among children and adults alike. Whether you’re preparing a quick snack for the family or whipping up a treat for a special event, this Rice Krispie Treats Recipe is as versatile as it is delicious. Best of all, it’s incredibly simple to make, requiring just a handful of ingredients and minimal time in the kitchen.

Ingredients Breakdown
The magic of this Rice Krispie treats recipe lies in its carefully chosen ingredients, each playing a vital role in creating the perfect treat.
Butter is the cornerstone of flavor, with its creamy richness taking on a nutty depth when lightly browned. This step elevates the taste of the treats, adding a sophisticated layer to their simplicity.
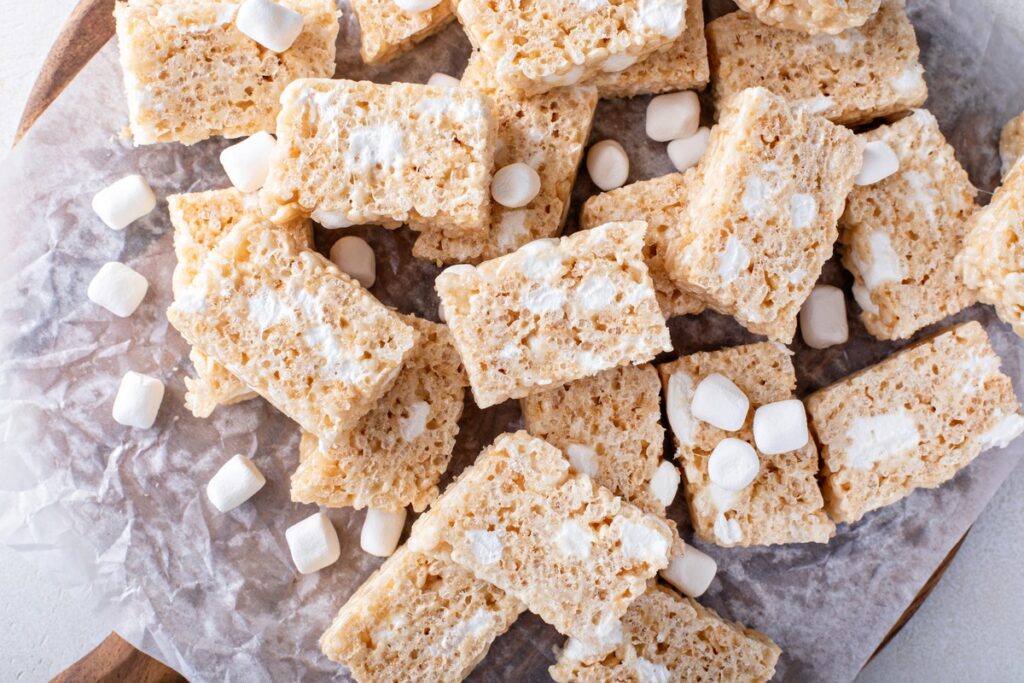
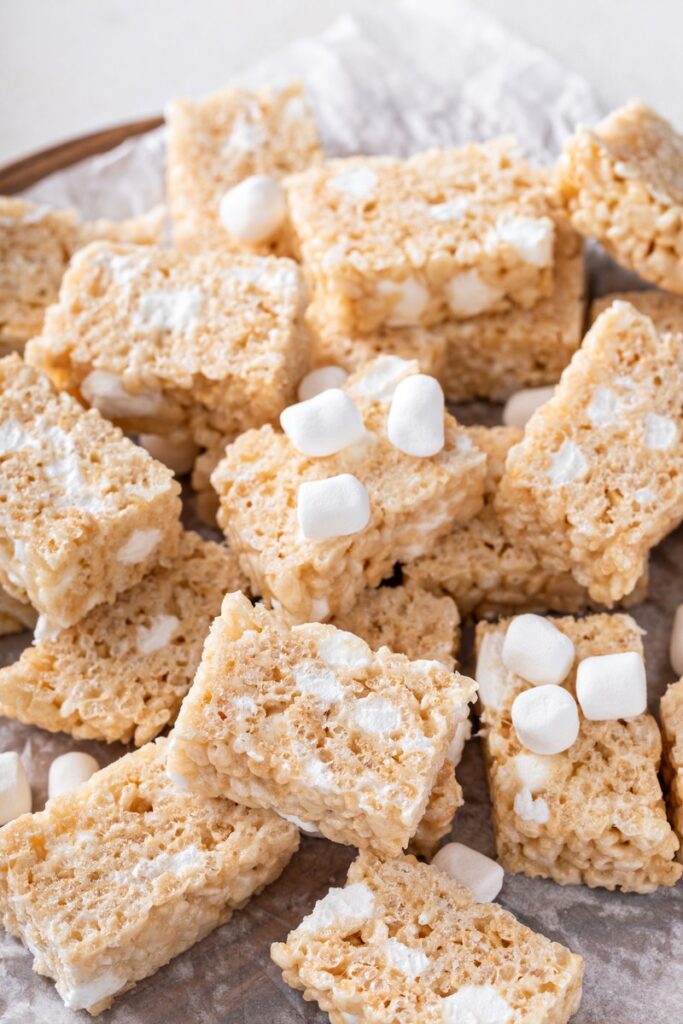
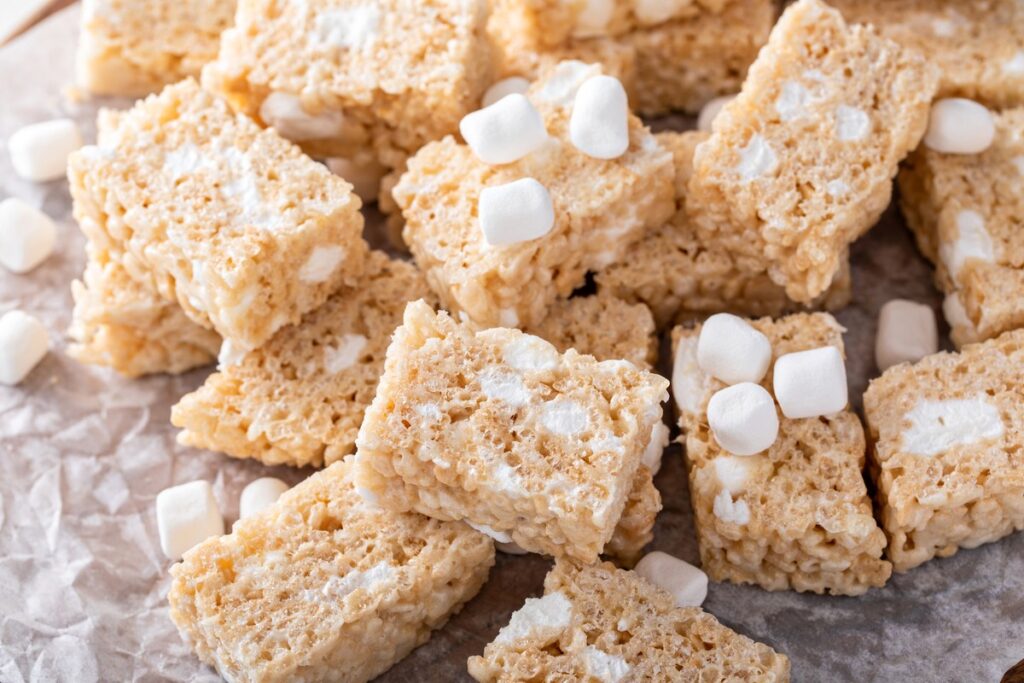
Marshmallows are the glue that holds it all together, quite literally. They melt into a sticky, sweet binder that wraps around each piece of rice cereal, ensuring every bite is perfectly gooey. Separating the marshmallows into two portions allows for pockets of soft, unmelted marshmallow to surprise and delight.
Rice cereal provides the signature crunch. From classic Rice Krispies to alternative brands like rice bubbles or rice pops, the cereal is a blank canvas ready to absorb the buttery, marshmallowy goodness.
For an added touch, vanilla extract infuses warmth and depth, while a pinch of salt balances the sweetness, ensuring every bite is flavorful and satisfying.
To take your treats to the next level, consider optional additions. Sprinkle in chocolate chips, crushed nuts, or colorful candy for a playful twist, or experiment with festive spices like cinnamon or nutmeg for a seasonal touch.
Step-by-Step Instructions for Perfect Results
Crafting Rice Krispie treats recipe is a straightforward process, but attention to detail can make all the difference.
Greasing and lining your pan is the first step to success. The parchment paper not only prevents sticking but also allows for easy removal once the treats have set. Make sure to leave a little overhang for a handy lifting tab.
Browning the butter is where the magic begins. As it melts over medium-low heat, it transforms into a golden elixir with a nutty aroma and a rich depth of flavor. Stir constantly and watch closely; the milk solids at the bottom will tell you when it’s time to lower the heat or pause to avoid burning.
Melting the marshmallows requires patience. Stirring over low heat ensures a silky, smooth consistency that coats every piece of cereal evenly. This step is key to achieving that signature texture without compromising the marshmallows’ integrity.

Once the cereal is added, work quickly but gently to fold it into the marshmallow mixture. This ensures every kernel is coated without breaking the crispy structure. Adding the remaining marshmallows at the end introduces delightful pockets of gooeyness, enhancing the overall experience.
When pressing the mixture into the pan, resist the urge to compact it too firmly. Using a barrier like parchment paper or cling wrap, press lightly to shape the treats without making them dense or tough.
Cooling is crucial. Allow the treats to set undisturbed for about an hour before cutting them into pieces with a sharp knife.
Recipe Tips & Frequently Asked Questions
- Avoiding Sticky Situations: Use nonstick spray on your spatula or hands to manage the marshmallow mixture easily.
- Consistency Control: Stir gently to prevent overly hard or mushy treats, and use fresh marshmallows for optimal texture.
- Storage Solutions: Store in an airtight container at room temperature for up to three days to maintain freshness.
- Can I Use Regular Marshmallows Instead of Mini Ones? Yes, but mini marshmallows melt faster and more evenly.
- How Do I Store These Treats to Keep Them Fresh? Use an airtight container and separate layers with wax paper.
- What Can I Do if My Treats Are Too Hard or Soft? Adjust pressing pressure or use slightly less cereal next time.
- Are There Any Gluten-Free Options for This Rice Krispie Treats Recipe? Ensure the rice cereal brand you use is certified gluten-free.

What to Serve With This Rice Krispie treats Recipe
Rice Krispie treats recipe pair wonderfully with a cold glass of milk or a steaming cup of coffee. For a festive occasion, consider serving them alongside hot chocolate or spiced cider.
These treats shine as a standalone snack, but they can also be the star at parties and gatherings. Use cookie cutters to shape them into fun designs, or drizzle them with melted chocolate for an extra-special touch.
For lunchboxes or quick snacks, wrap individual portions in parchment paper to keep them fresh and portable.

Variations to Try
For chocolate lovers, a drizzle of melted chocolate or a sprinkle of cocoa powder adds a decadent twist. You can also fold in chocolate chips for a double dose of indulgence.
Festive flavors are another way to customize these treats. Add a drop of food coloring to the marshmallow mixture for a holiday theme, or mix in crushed peppermint candy or candy canes during the winter season.
For a healthier version, opt for whole-grain rice cereal and reduce the butter slightly. You can even experiment with natural sweeteners like honey for a unique spin.
Conclusion
Rice Krispie treats recipe are a delightful combination of simplicity and creativity. With just a few ingredients and a bit of time, you can create a universally loved snack that’s perfect for any occasion. Whether you stick to the classic recipe or experiment with fun variations, these treats are sure to bring smiles to everyone who enjoys them. So grab your ingredients, roll up your sleeves, and get ready to make some magic in the kitchen!

Rice Krispie Treats Recipe
Ingredients
- 7½ cups 200 g rice cereal – choose your favorite, such as Rice Krispies, rice bubbles, or rice pops
- 8½ cups 450 g mini marshmallows – separated into 7½ cups (397 g) and 1 cup (53 g) portions
- ¾ cup 170 g unsalted butter
- 1 tsp vanilla extract or essence
- ½ tsp salt
Instructions
- Prepare a 9×13-inch sheet pan by lightly greasing it and lining it with parchment paper, allowing a bit of the paper to hang over the edges for easy lifting later. Set it aside for now.
- Melt the butter in a large pot over medium-low heat. Let it fully liquefy and gently sizzle, allowing it to develop a golden hue and a nutty aroma. The milk solids will sink to the bottom, and a frothy layer will form on the surface. Watch carefully as the solids begin to turn a pale brown. Lower the heat immediately, or, if the butter browns too fast, remove the pot from heat momentarily to prevent overbrowning.
- Reduce the heat to low and stir in 7½ cups (397 g) of the marshmallows. Stir constantly and patiently until they melt almost entirely. Avoid the temptation to raise the heat for quicker results, as it can compromise the mixture’s smooth texture.
- Once the marshmallows are nearly melted, blend in the vanilla extract and salt. Continue stirring until everything is well incorporated and the mixture becomes silky and smooth.
- Add the rice cereal to the pot and fold it gently into the marshmallow mixture. Work swiftly to coat the cereal evenly while keeping the heat low.
- Stir in the remaining 1 cup (53 g) of marshmallows. Mix lightly until the extra marshmallows are partially melted and distributed throughout. Avoid excessive mixing to retain pockets of marshmallow for a delightful texture.
- Transfer the marshmallow-coated cereal mixture to the prepared pan. Spread it out evenly, using a piece of parchment paper or cling film to press it down gently. Be careful not to pack it too tightly, as this will result in overly dense treats that are hard to bite.
- Allow the mixture to cool completely, which will take about an hour. Once set, use the parchment paper overhang to lift the treat block out of the pan. Slice into even pieces with a sharp knife, serve, and enjoy your homemade Rice Krispie treats!
