Best Italian Bread Recipe
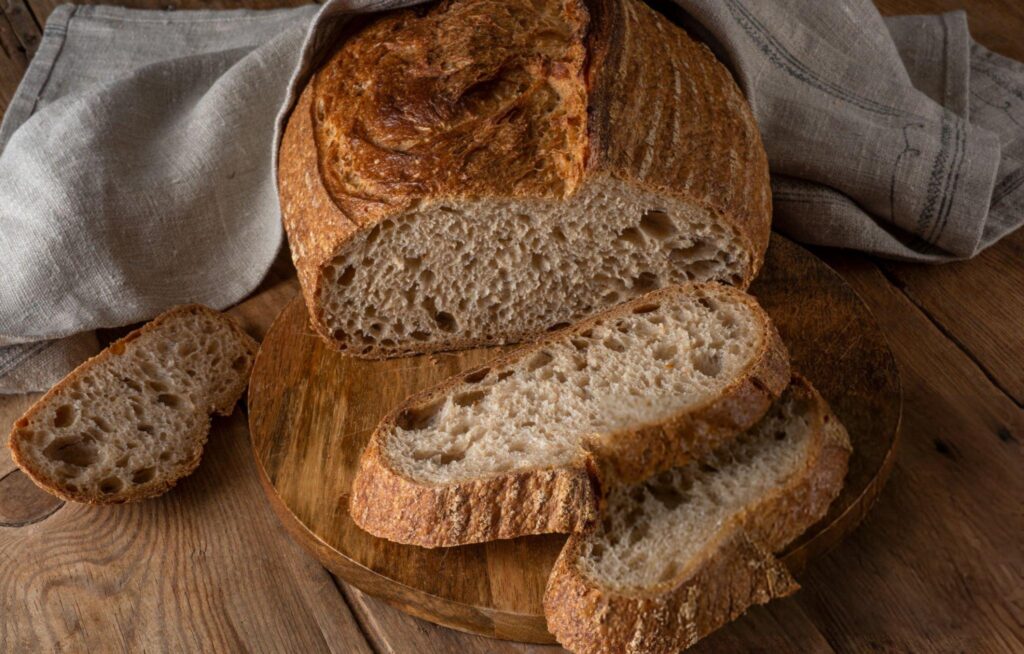
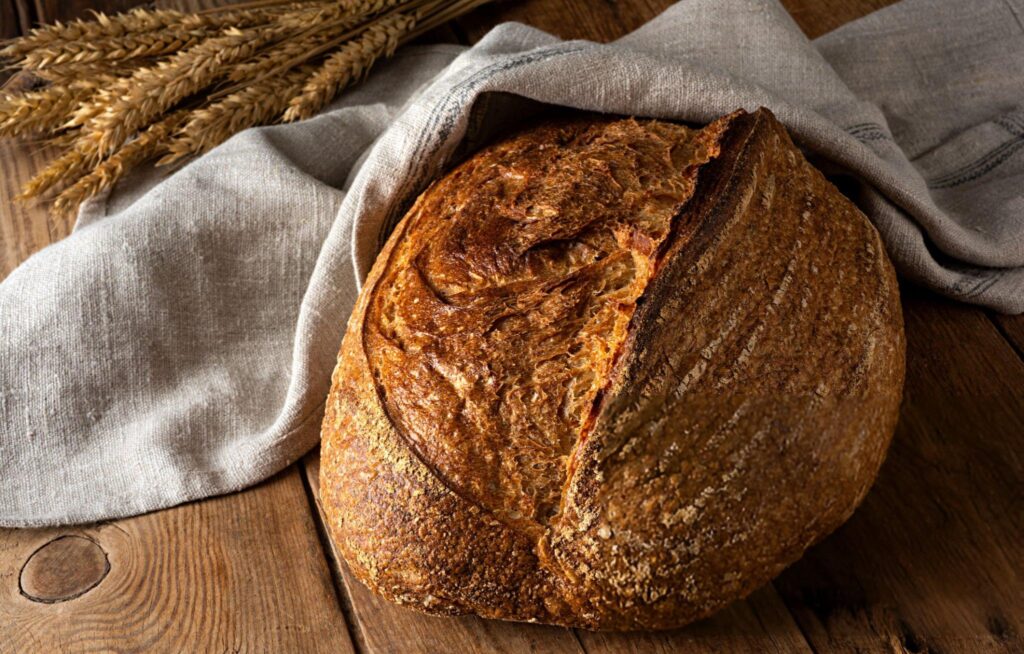
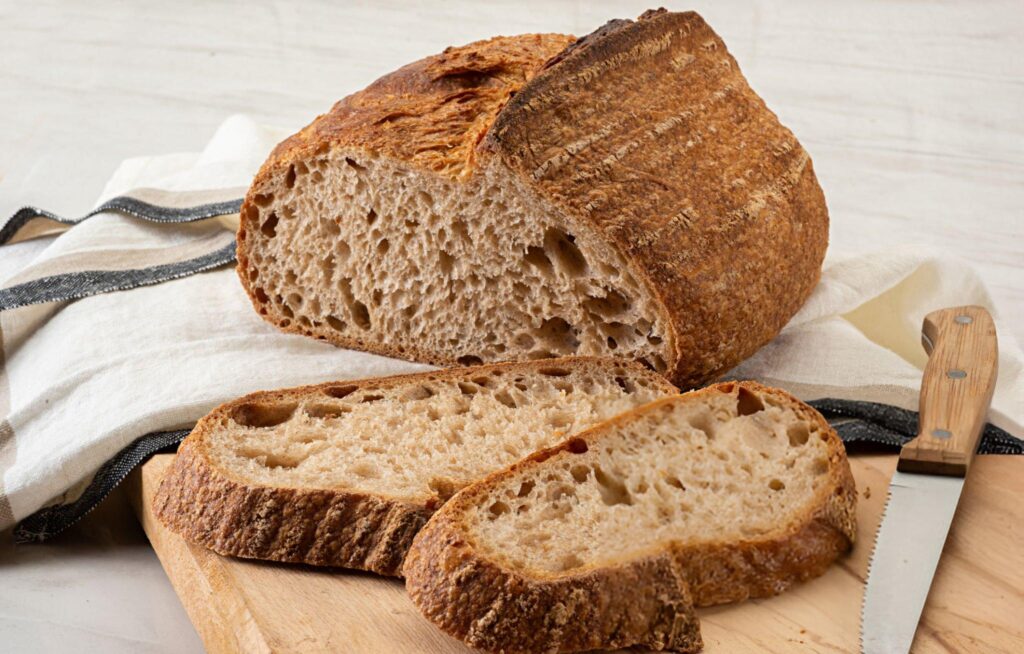
Italian bread is the epitome of simple, rustic perfection. This recipe is your ultimate guide to baking bread at home, turning basic pantry staples into a golden loaf that tastes like it’s straight from an artisan bakery. With a chewy crust, airy crumb, and subtle flavor, this bread is versatile enough for any occasion. Whether you’re serving it as an appetizer with olive oil, creating a gourmet sandwich, or enjoying it alongside a hearty pasta dish, this recipe guarantees consistently excellent results.

Essential Ingredients for Authentic Italian Bread
Crafting the perfect Italian bread requires thoughtful ingredient selection and precise measurements. Each component plays a vital role in the final product, ensuring texture and flavor are top-notch.
The bread flour serves as the foundation, providing the gluten structure essential for the loaf’s elasticity and chewiness. Its protein content makes it ideal for achieving that perfect crumb. The water, measured at room temperature, activates the yeast and creates a dough that’s easy to work with.
Butter or oil enhances the bread’s softness and lends a subtle richness to its flavor. Salt is the unsung hero, heightening the dough’s taste and controlling yeast activity to ensure the bread rises evenly. Finally, the yeast is the engine behind fermentation, giving the dough its airy texture and mild tang. Accurate yeast measurement is essential, as even a small deviation can alter the bread’s rise and taste.
Step-by-Step Guide to Making Italian Bread
Creating Italian bread from scratch is a rewarding process, transforming simple ingredients into a stunning, aromatic loaf.
Begin by combining the flour, water, yeast, salt, and butter (or oil) in a large bowl or stand mixer. Mix the ingredients until the dough just comes together, creating a unified, sticky mass. Allow the dough to rest for 30 to 60 minutes, letting the gluten strands begin their development.
Next comes the stretch and fold technique. Wet your hands to prevent sticking and gently stretch the dough upward before folding it back over itself. Rotate the bowl and repeat this motion on all sides. This process strengthens the dough, building its structure without overworking it. Rest the dough again and repeat the folds to enhance its elasticity further.
Allow the dough to ferment overnight at room temperature. During this long rise, the dough develops its complex flavors and bubbly, airy texture. By morning, it will be alive with fermentation, ready for shaping.
Gently deflate the dough, transfer it to a floured surface, and form it into a rectangle. Fold the dough like a letter, tucking the edges tightly as you shape it into a ball. Place the dough seam-side down into a parchment-lined bowl for its final rise.
Preheat your oven with a Dutch oven inside. Once the dough has risen, score it with a sharp knife to control the expansion during baking. Transfer the dough carefully to the hot Dutch oven, adding a few ice cubes to create steam, which enhances the crust’s crispness. Bake with the lid on to trap moisture, then finish uncovered for a beautifully browned crust.

Recipe Tips & Frequently Asked Questions
- How to Ensure Proper Dough Hydration: Measure water precisely and avoid adding excess flour during kneading to maintain the dough’s ideal consistency.
- The Best Way to Handle Sticky Dough Without Adding Extra Flour: Use wet hands or a bench scraper to manage stickiness during shaping.
- Common Mistakes to Avoid During Scoring: Use a sharp blade and make swift, confident cuts to avoid deflating the dough.
- Pro Tips for Achieving a Golden, Crispy Crust: Steam is your best friend ice cubes in the Dutch oven create the perfect environment for crust development.
- Can I Use Whole Wheat Flour Instead of Bread Flour?: Yes, but the texture will be denser; consider using a mix of whole wheat and bread flour for balance.
- How Long Can the Dough Rest Overnight?: Up to 12 hours is ideal; longer fermentation could lead to over-proofing.
- Why Is My Bread Not Rising Properly?: Check your yeast’s freshness and ensure the water temperature is not too hot or cold.
- Do I Need a Dutch Oven, or Are There Alternatives?: While a Dutch oven creates optimal conditions, a baking stone with a tray of water for steam works as well.
What to Serve With This Recipe
The beauty of Italian bread lies in its versatility. For a classic touch, dip it into a shallow plate of extra virgin olive oil infused with balsamic vinegar and herbs. Use thick slices to create gourmet sandwiches, layered with fresh mozzarella, tomatoes, and basil. Serve it alongside hearty soups like minestrone or creamy tomato bisque. For pasta nights, this bread is perfect for mopping up every bit of sauce. Whether you’re hosting a dinner party or enjoying a simple family meal, this bread elevates every dish.

Storing and Reheating Italian Bread
To maintain the bread’s freshness, store it in a paper bag or bread box at room temperature. Avoid plastic bags, which can make the crust soggy. For longer storage, wrap the loaf tightly in plastic wrap and freeze it. Reheat frozen bread in the oven to restore its crisp exterior and soft interior, ensuring it tastes as fresh as the day it was baked.
Conclusion: Elevate Your Baking Game
Mastering Italian bread opens the door to endless culinary possibilities. With its simple ingredients and straightforward techniques, this recipe is a testament to the transformative power of baking. Whether you’re a novice or an experienced baker, this guide equips you to create a loaf that’s as satisfying to make as it is to eat. Once you’ve experienced the joy of homemade bread, you’ll never want to settle for store-bought again.

Italian Bread
Ingredients
- 600 grams 5 cups bread flour, measured by spooning and leveling
- 480 mL 2 cups/16oz room-temperature water
- 28 grams 2 Tbsp/1 oz softened or melted salted butter (or use oil as an alternative)
- 15 grams 2 1/2 tsp fine sea salt
- 1/2 tsp active dry yeast or instant yeast
Instructions
- In a large mixing bowl or the bowl of a stand mixer fitted with a dough hook, combine the bread flour, water, yeast, salt, and butter (or oil). Stir the mixture using the hook, a wooden spoon, or a Danish whisk until all the flour is fully incorporated, and a cohesive dough forms.
- Once the dough comes together, cover the bowl with a clean kitchen towel or plastic wrap and allow it to rest undisturbed for 30 to 60 minutes.
- After resting, wet your hands under cold water to prevent sticking. Using one hand, gently grasp one side of the dough, stretch it as far as it will go without tearing, and fold it over the center. Rotate the bowl 90 degrees and repeat the stretching and folding process on all four sides.
- Let the dough rest again for 30 to 60 minutes, then repeat the stretching and folding process as before. Once done, cover the dough and allow it to ferment at room temperature overnight, approximately 10 hours. Including the initial preparation time, the total fermentation period should be around 12 hours.
- By the next morning, the dough should appear bubbly and well-risen. Using a spatula or your hands, gently scrape the dough away from the sides of the bowl to deflate it. Transfer the dough onto a floured surface, handling it with care to maintain its structure.
- Gently stretch the dough into a rectangular shape without rolling it. Fold the top third of the rectangle downward toward the center, then bring the bottom third up to overlap, creating a letter-like fold. Starting from one of the short ends, roll the dough tightly into a ball. Pinch the sides to smooth out any creases, then roll it gently in your hands to create a taut, round shape.
- Prepare a large bowl by crumpling a sheet of parchment paper and placing it inside. Place the dough ball seam-side down into the bowl, cover it, and let it rise again for 60 to 90 minutes.
- While the dough rises, place a Dutch oven (with its lid) in the oven and preheat to 425°F (232°C).
- When the dough has risen sufficiently, it should feel airy yet spring back slowly when gently pressed. If it rebounds too quickly, allow more rising time. Lightly dust the surface with flour and score the dough using a sharp knife or bread scoring tool to create one deep slash and a few smaller ones for decoration and steam release.
- Carefully remove the hot Dutch oven from the oven. Using the parchment paper as a sling, transfer the dough into the Dutch oven. Be cautious to avoid deflating the dough. Slide a few ice cubes (about 3 to 4) under the parchment paper, placing them around the edges where the paper and pot meet.
- Cover the Dutch oven with its lid and bake for 15 minutes. Afterward, remove the lid and continue baking for an additional 20 minutes, or until the bread achieves a golden-brown crust.
- Once baking is complete, take the Dutch oven out of the oven and let the bread rest inside for 5 to 10 minutes. Carefully remove the bread and allow it to cool completely on a wire rack before slicing or serving.
