Best Chocolate Pudding Recipe
Chocolate pudding is the quintessential dessert for anyone seeking comfort and indulgence in every spoonful. Silky smooth, decadently rich, and perfectly balanced in sweetness, this classic treat never fails to delight. The beauty of this recipe lies in its simplicity just a handful of basic ingredients come together to create a luscious dessert that feels gourmet. Whether it’s a weekday indulgence or the finale to an elegant dinner party, this chocolate pudding promises to satisfy even the most discerning sweet tooth.

Ingredients
This chocolate pudding recipe uses pantry staples with the addition of a premium touch to elevate the flavor.
- Whole milk: The foundation of the pudding, whole milk provides a creamy and luxurious base that can’t be replicated with lower-fat alternatives.
- Sugar: A measured amount to enhance the chocolate’s flavor without overpowering it.
- Unsweetened natural cocoa powder: Opt for trusted brands like Hershey’s, which impart a robust chocolate essence without added sweetness.
- Cornstarch: The key thickening agent for a smooth, velvety texture. It replaces heavy cream, making the pudding indulgent yet light.
- Salt: Just a pinch enhances the chocolate flavor and balances the sweetness.
- Semi-sweet chocolate: Finely chopped premium chocolate, such as Ghirardelli, melts seamlessly into the pudding, intensifying its richness.
- Vanilla extract: A finishing touch that mellows the cocoa’s bold notes with a subtle, aromatic sweetness.
- Whipped cream (optional): A dollop of homemade whipped cream adds contrast and flair to the final presentation.
High-quality chocolate and cocoa powder are essential. The better the chocolate, the richer and smoother the pudding will taste.
Step-by-Step Instructions for Perfect Chocolate Pudding
To achieve the perfect pudding, precision and attention to detail are key.
Begin by whisking together sugar, cocoa powder, cornstarch, and salt in a medium-sized, heavy-bottomed saucepan. This ensures the dry ingredients are evenly combined. Gradually pour in half of the milk, whisking continuously to create a smooth, lump-free paste. Slowly incorporate the rest of the milk, blending until the mixture is silky and cohesive.
Place the saucepan over medium heat and bring the mixture to a gentle boil. Whisk constantly this step is crucial to avoid lumps or scorching at the bottom of the pan. As the pudding thickens, you’ll notice it transforming into a luscious, glossy texture after about 8 minutes. Once it starts to bubble, allow it to cook for an additional minute to fully activate the cornstarch, continuing to whisk for an ultra-smooth finish.
Remove the pan from the heat and stir in the finely chopped semi-sweet chocolate and vanilla extract. The heat of the pudding will melt the chocolate effortlessly, resulting in a deep, velvety flavor and a silky texture.
Pour the pudding into a medium bowl, and to prevent a skin from forming, press a piece of plastic wrap directly against the surface of the pudding. Allow it to chill in the refrigerator for at least 5 to 6 hours, or until fully set. Once chilled, give the pudding a gentle whisk to restore its creamy consistency before serving.
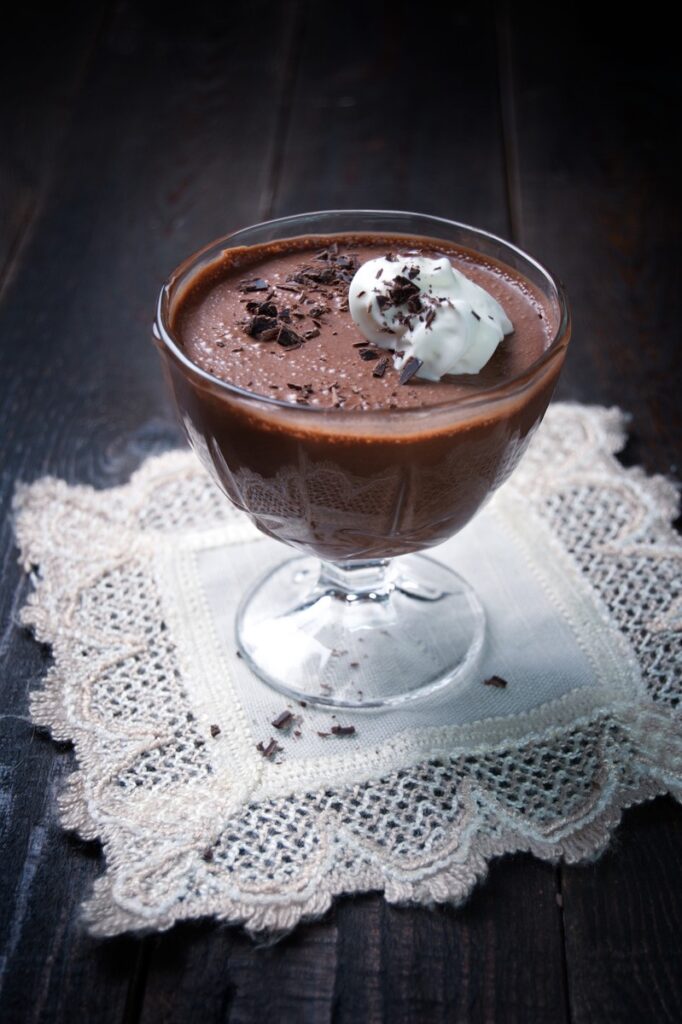
Divide evenly into dessert bowls, add a cloud of whipped cream on top, and enjoy a decadent moment of indulgence.

Recipe Tips & Frequently Asked Questions
- Preventing lumps: Always whisk the dry ingredients thoroughly with milk before applying heat. Gradual whisking avoids clumping.
- Avoid scorching: Use medium heat and whisk constantly to prevent the pudding from burning at the bottom of the pan.
- Prevent a skin from forming: Press plastic wrap directly onto the pudding while it cools. This keeps the texture smooth.
- How long to chill: For the perfect pudding set, 5 to 6 hours is ideal. Overnight works just as well for make-ahead preparation.
- Why isn’t my pudding thickening?: Ensure the pudding reaches a boil and cooks for at least 1 minute the heat activates the cornstarch.
- Milk alternatives: Almond or oat milk can be used for a dairy-free version, but the texture may be slightly thinner.
- Storing leftovers: Store pudding in an airtight container in the fridge for up to 3 days.
- Make-ahead for parties: Yes! Prepare the pudding the day before, and it will be perfectly set when ready to serve.
Variations to Try
Take this classic pudding up a notch with a few creative twists:
- Chocolate mousse transformation: Layer the chilled pudding with fluffy whipped cream to create a light, airy mousse-like dessert.
- Flavor infusions: Add a teaspoon of espresso powder for a mocha flair, a sprinkle of orange zest for brightness, or a pinch of sea salt flakes for a modern edge.
- Dairy-free options: Substitute whole milk with almond, coconut, or oat milk. Semi-sweet vegan chocolate can replace regular chocolate for a fully plant-based treat.
What to Serve With This Chocolate Pudding Recipe
Chocolate pudding is versatile enough to pair with a variety of textures and flavors for a truly elevated experience.
- Toppings: Fresh raspberries, sliced strawberries, or blueberries provide a burst of color and a hint of tartness to balance the richness. Sprinkle finely shaved chocolate or toasted nuts for added texture.
- Sides: Serve with buttery shortbread cookies, delicate biscotti, or flaky croissants to create a delightful contrast between creamy and crunchy.
- Drinks: Pair the pudding with a warm cappuccino or espresso for a classic combination. For special occasions, a glass of dessert wine like Port or a rich Baileys cocktail can enhance the indulgence.

Final Presentation Tips
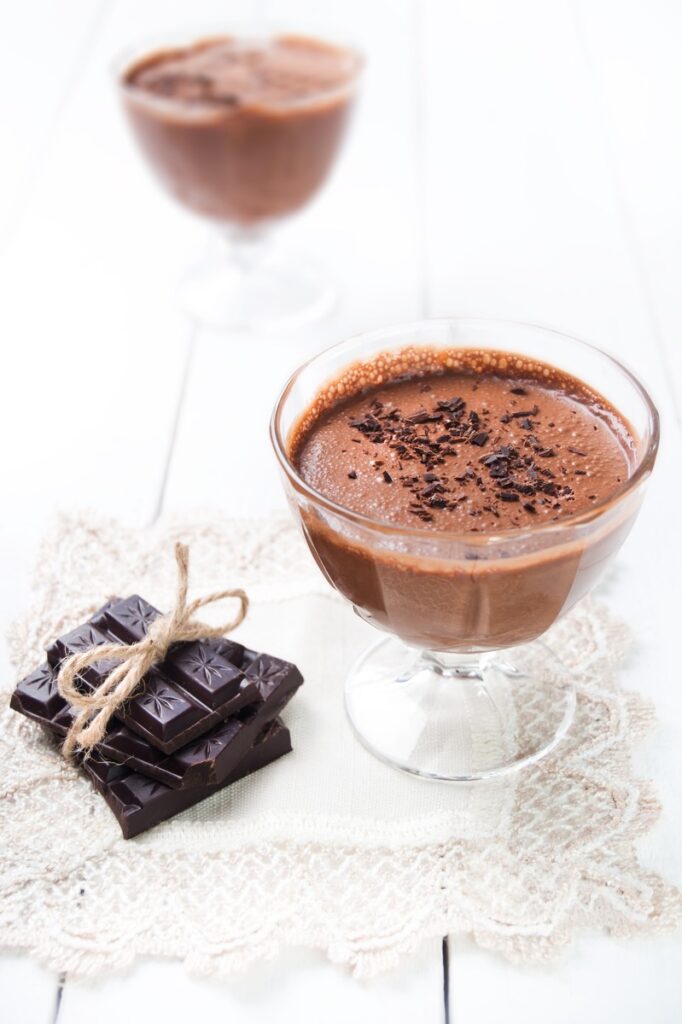
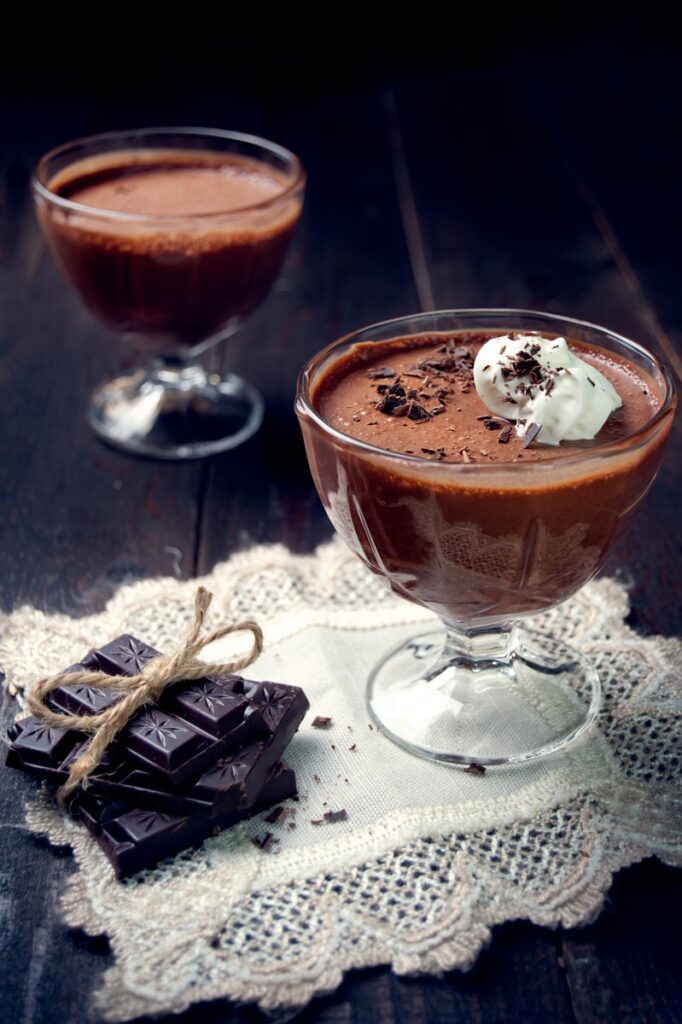
Elevate the visual appeal of your chocolate pudding with thoughtful presentation. Serve the pudding in individual ramekins, glass dessert cups, or vintage-style jars for an elegant touch. Garnish with a swirl of whipped cream, a dusting of cocoa powder, or a scattering of grated chocolate for a polished look. Layer the pudding with whipped cream and berries in clear glasses to create a stunning centerpiece for your dessert table. A thoughtful garnish and refined presentation will turn this humble chocolate pudding into a show-stopping delight that is as visually appealing as it is delicious.

Chocolate Pudding
Ingredients
- 2½ cups whole milk
- ⅔ cup sugar
- ¼ cup unsweetened natural cocoa powder such as Hershey’s
- 2½ tablespoons cornstarch
- ⅛ teaspoon salt
- 1½ ounces semi-sweet chocolate finely chopped (use premium brands like Ghirardelli)
- 2 teaspoons vanilla extract
- Whipped cream for topping optional
Instructions
- In a medium-sized, heavy-bottomed saucepan, combine the sugar, cocoa powder, cornstarch, and salt. Gradually pour in half of the milk, whisking thoroughly until the dry ingredients dissolve and the mixture is silky smooth. Slowly incorporate the remaining milk, continuing to whisk to ensure no lumps form.
- Place the saucepan over medium heat and whisk continuously as the mixture heats up. In about 8 minutes, the pudding will begin to thicken and bubble. Allow the pudding to boil for an additional minute, ensuring you whisk constantly to prevent any scorching.
- Remove the pan from the heat and immediately stir in the finely chopped chocolate and vanilla extract. Whisk until the chocolate has completely melted, and the pudding takes on a rich, smooth consistency.
- Transfer the pudding to a medium bowl. To prevent a skin from forming on the surface, gently press a sheet of plastic wrap directly onto the pudding. Place the bowl in the refrigerator and let the pudding chill for 5 to 6 hours, or until fully set.
- Once chilled, whisk the pudding briefly to restore its creamy texture. Divide it evenly into 4 dessert bowls or glasses. Add a generous dollop of whipped cream on top for an elegant finishing touch, if desired. Serve immediately and savor every spoonful of this velvety chocolate delight.
