Rich Chocolate Ice Cream
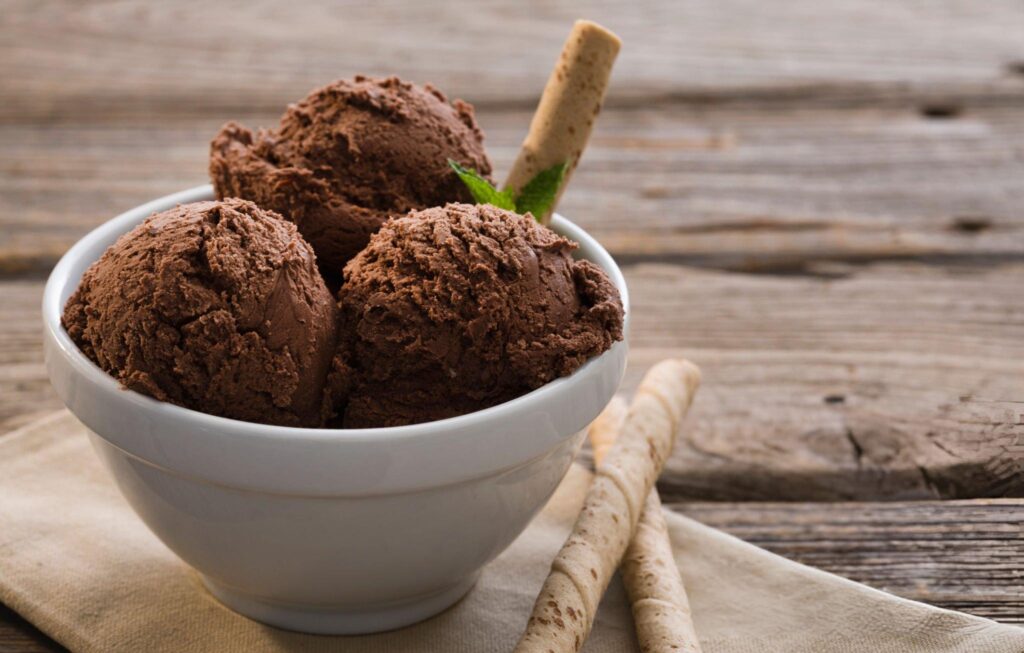
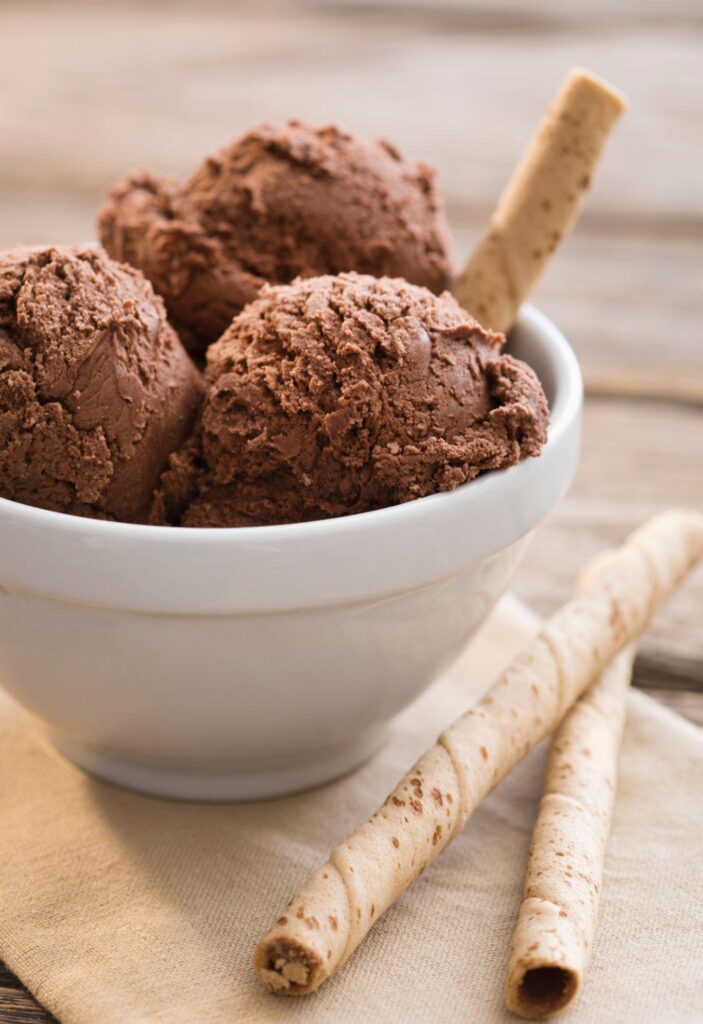
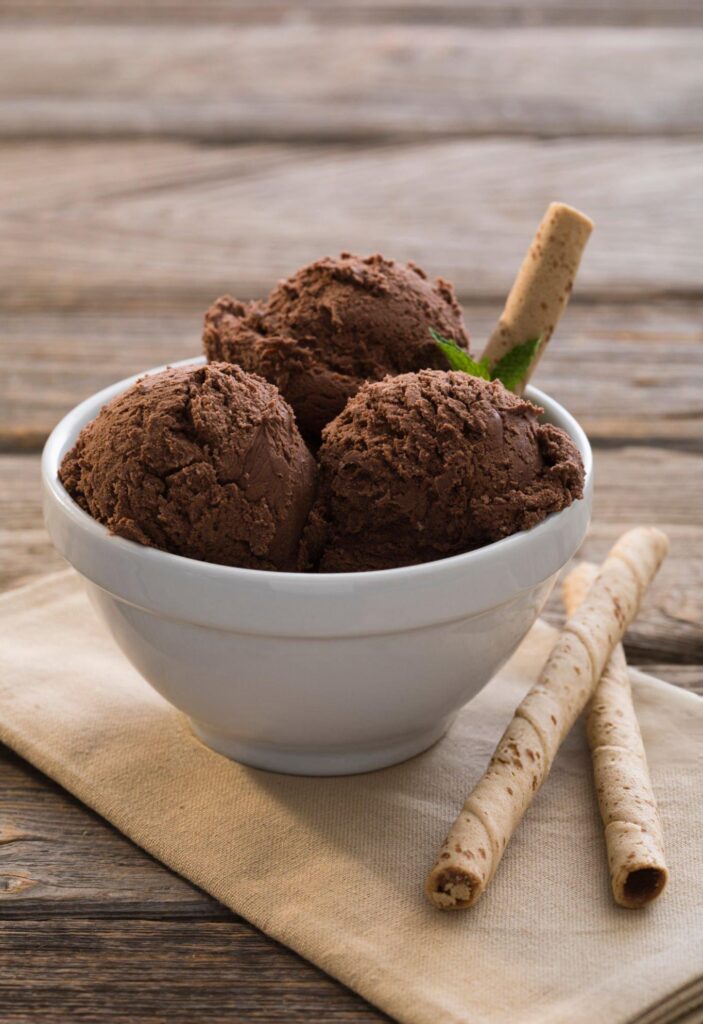
This chocolate ice cream recipe is the epitome of indulgence, with a velvety smooth texture and deep chocolate flavor that rivals any high-end parlor. By combining milk chocolate, bittersweet chocolate, and cocoa powder, it delivers layers of richness in every bite. Each step is crafted with precision, ensuring a flawless result even if you’re a beginner. Whether you’re hosting guests or treating yourself to a midweek dessert, this chocolate ice cream recipe guarantees a luxurious, homemade experience that’s far superior to store-bought alternatives.

The detailed instructions, along with pro tips, remove the guesswork, ensuring a foolproof and creamy result every time.
Ingredients
To achieve the most decadent chocolate ice cream, the ingredients must be carefully chosen and balanced.
Premium-quality chocolates are the star of this chocolate ice cream recipe. A combination of milk chocolate and bittersweet chocolate gives it a complex flavor profile, while unsweetened cocoa powder intensifies the richness with its bold, earthy notes. Whole milk and heavy cream are essential for creating that creamy, luscious mouthfeel. The fat content in these ingredients helps lock in smoothness without ice crystals forming.
Pantry staples such as sugar and corn syrup sweeten the mixture while contributing to the soft texture. The addition of milk powder deepens the dairy notes, and cornstarch serves as a natural thickener to bind everything together seamlessly. Finally, a small pinch of salt ties the flavors together, preventing the sweetness from overpowering the chocolate.

Step-by-Step Instructions for Creamy Chocolate Ice Cream
Melt the Chocolate Like a Pro
Begin by placing the chopped milk chocolate and bittersweet chocolate into a medium-sized bowl. Use the microwave in 20-second intervals, stirring between each burst to avoid scorching the chocolate. When about three-quarters melted, stir briskly to let the residual heat finish the job, leaving a glossy, smooth texture. Alternatively, use a double boiler by placing the bowl over gently simmering water, stirring constantly until the chocolate melts completely. Add the cocoa powder and salt, whisking until the mixture is smooth and cohesive.
Prepare the Base
In a small bowl, combine milk powder and sugar, ensuring the ingredients are evenly distributed for a consistent flavor. In another bowl, whisk cornstarch into 2 tablespoons of cold milk until no lumps remain, forming a silky slurry that will later thicken the mixture.
Cook the Dairy Mixture
Pour the whole milk, heavy cream, and corn syrup into a saucepan and place it over medium-high heat. Whisk occasionally to prevent scorching, and bring the mixture to a rolling boil, letting it bubble for about a minute. This step is critical to dissolve the sugar fully and develop the desired texture.
Reduce the heat to low and gradually whisk in the milk powder and sugar blend. Allow it to simmer for 2 minutes, stirring continuously to avoid lumps. Add the prepared cornstarch slurry and continue whisking for another minute as the mixture begins to thicken, achieving a custard-like consistency.
Combine and Blend
Pour one-third of the hot milk mixture into the melted chocolate and whisk vigorously until fully combined and smooth. Gradually incorporate the remaining milk mixture in small increments, whisking continuously. This step ensures the chocolate emulsifies perfectly, creating a seamless blend without any grainy bits. Take your time, as a smooth base is the key to a flawless ice cream texture.
Cool, Chill, and Churn
Prepare an ice bath by filling a large bowl with crushed ice and cold water. Place the warm chocolate mixture in the ice bath and stir occasionally to cool it down to room temperature, which typically takes about 15 to 20 minutes. Cooling the base rapidly prevents any texture issues during churning.
Once the base has cooled, cover it with plastic wrap placed directly on the surface to avoid skin formation. Refrigerate for at least 4 hours, but preferably overnight. A thoroughly chilled base ensures a creamier ice cream after churning.
Pour the cold chocolate mixture into your ice cream machine and churn according to the manufacturer’s instructions. After 20 to 30 minutes, the mixture should reach a soft-serve consistency, holding its shape beautifully.
Freeze and Serve
Transfer the freshly churned ice cream into an airtight container. Press a layer of plastic wrap directly onto the surface to prevent ice crystals from forming. Seal the container and freeze for 6 to 12 hours, or until firm. Scoop into bowls, cones, or as a topping for your favorite dessert.

Recipe Tips & Frequently Asked Questions
- The best chocolate brands for flavor: Use high-quality chocolates such as Valrhona, Ghirardelli, or Callebaut for a deep, luxurious taste.
- Why chilling overnight matters: Letting the base chill overnight develops flavor and ensures a smooth churn without air pockets.
- How to avoid grainy texture: Always whisk the chocolate and milk mixture slowly and thoroughly to emulsify the ingredients properly.
- Can I make this without an ice cream maker? Yes, freeze the base in a shallow container, stirring every 30 minutes for a few hours to mimic churning.
- How do I store leftover ice cream? Keep it in an airtight container with a layer of plastic wrap on top to avoid freezer burn.
- What can I use instead of corn syrup? Honey or golden syrup works as a substitute, though the flavor will change slightly.
What to Serve With This Chocolate Ice Cream Recipe
This decadent chocolate ice cream is versatile and pairs beautifully with a variety of complementary treats. Drizzle it with warm chocolate ganache or homemade caramel sauce for an extra dose of indulgence. Serve it alongside fudgy brownies or chocolate chip cookies for a truly irresistible dessert.
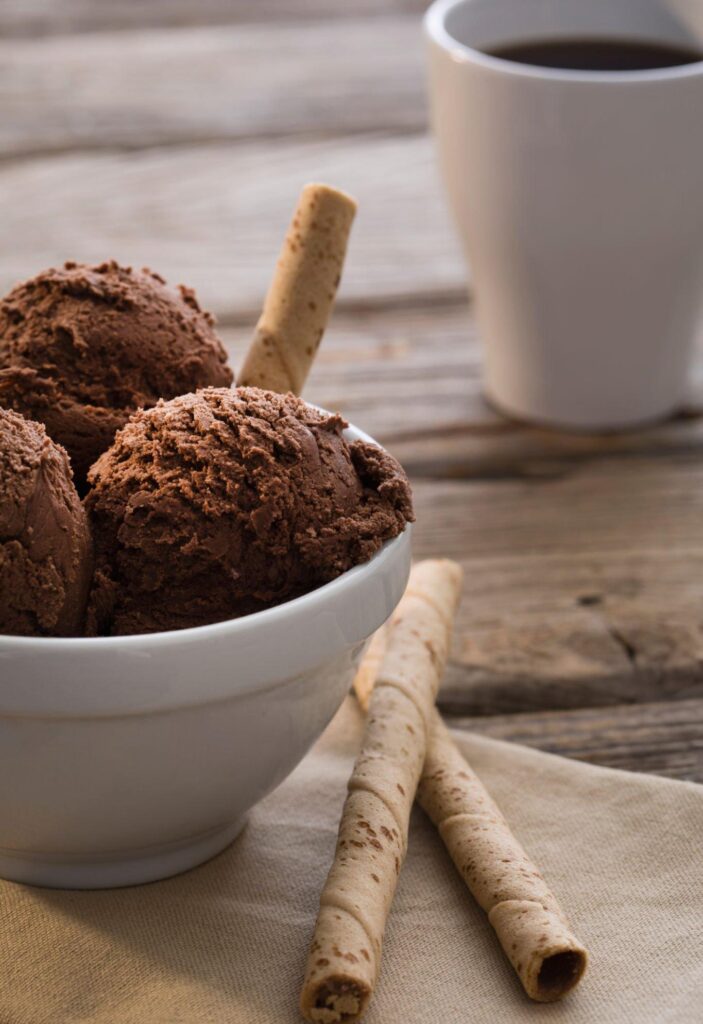
For a refreshing twist, sprinkle crushed peppermint candies or toasted hazelnuts on top. If you’re feeling creative, layer the ice cream with cake or fruit in a parfait glass. A cup of espresso or hot cocoa also makes a perfect beverage companion to balance the richness.

Expert Tips for Perfect Homemade Ice Cream Every Time
To achieve a consistently smooth texture, cornstarch and corn syrup play vital roles. Corn syrup inhibits crystallization, while the cornstarch provides natural thickening without eggs, creating a custard-like creaminess. Adjust the sweetness or cocoa levels to suit your palate more bittersweet chocolate yields a darker, bolder flavor.
Allow the ice cream to soften slightly at room temperature for a couple of minutes before scooping, ensuring it glides effortlessly onto your spoon.
Final Thoughts on the Perfect Chocolate Ice Cream
This Chocolate Ice Cream recipe is the ultimate blend of sophistication and comfort, delivering unmatched richness and smoothness in every bite. Whether enjoyed solo or paired with other desserts, it’s an indulgence worth savoring. Experiment with toppings or mix-ins to customize it to your heart’s content and transform every scoop into a memorable treat.

Chocolate Ice Cream
Ingredients
- 2 ounces bittersweet chocolate chopped (see note)
- 2 ounces milk chocolate chopped (see note)
- ¾ cup sugar
- ¾ cup heavy cream
- 2¼ cups + 2 tablespoons whole milk divided
- 3 tablespoons milk powder dry milk
- 3 tablespoons unsweetened natural cocoa powder such as Hershey’s
- ¼ cup corn syrup
- 1 tablespoon + 1 teaspoon cornstarch
- ¼ teaspoon salt
Instructions
Melt the Chocolate
- Combine the chopped bittersweet and milk chocolate in a medium bowl large enough to accommodate the full ice cream base. Melt the chocolate using short bursts of 20 seconds in the microwave, stirring between each interval. Once the chocolate is about three-quarters melted, stir vigorously until smooth, allowing the residual heat to finish the process. Alternatively, you can use a double boiler by placing the chocolate in a heat-safe bowl over a pan with gently simmering water. Stir frequently until smooth and silky. Add the cocoa powder and salt to the melted chocolate, mixing until fully incorporated.
Prepare the Dry Ingredients
- In a small bowl, combine the milk powder and sugar, stirring to mix evenly. Set aside.
Mix the Cornstarch Slurry
- In a separate bowl, whisk together the cornstarch with 2 tablespoons of cold milk until completely smooth and free of lumps. Keep this mixture ready for later use.
Cook the Dairy Mixture
- In a medium saucepan, pour in the remaining 2¼ cups of milk, along with the heavy cream and corn syrup. Place the pan over medium-high heat and whisk occasionally to prevent the mixture from sticking to the bottom. Bring it to a rolling boil, allowing it to bubble robustly for about 1 minute.
Incorporate the Dry Ingredients
- Gradually whisk the milk powder and sugar blend into the boiling milk mixture. Reduce the heat to low, keeping it at a gentle simmer, and continue cooking for 2 minutes while whisking frequently to prevent scorching. Next, stir in the prepared cornstarch slurry and cook for an additional minute, whisking constantly until the mixture thickens slightly.
Combine with the Melted Chocolate
- Pour one-third of the hot milk mixture into the bowl of melted chocolate, whisking thoroughly to create a smooth and glossy texture. Slowly add the rest of the milk mixture in batches, whisking continuously to ensure the chocolate emulsifies seamlessly and no streaks remain. Taking your time here is essential, as it prevents any graininess in the final ice cream.
Cool the Mixture in an Ice Bath
- Prepare a large bowl filled with crushed ice and a small amount of cold water to form an ice bath. Place the warm chocolate base over the ice bath and stir gently every few minutes. Allow the mixture to cool to a lukewarm temperature, which typically takes 15 to 20 minutes. Ensure the bowl remains stable to avoid spills.
Chill the Base
- Once cooled, remove the chocolate mixture from the ice bath, cover it with plastic wrap directly on the surface to prevent skin formation, and refrigerate it for at least 4 hours, or preferably overnight. A thoroughly chilled base churns into a creamier ice cream.
Churn the Ice Cream
- Pour the chilled chocolate mixture into your ice cream maker and churn according to the manufacturer’s guidelines. The ice cream is ready once it reaches a thick, soft-serve consistency and maintains its shape this usually takes 20 to 30 minutes, depending on your machine.
Freeze to Set
- Transfer the freshly churned ice cream into an airtight container. Press a layer of plastic wrap directly onto the ice cream’s surface to prevent ice crystal formation, then seal with a lid. Freeze for 6 to 12 hours, or until firm.
Serve
- Scoop generous portions and serve immediately for a decadent, velvety chocolate ice cream experience.
