Best Drop Biscuits
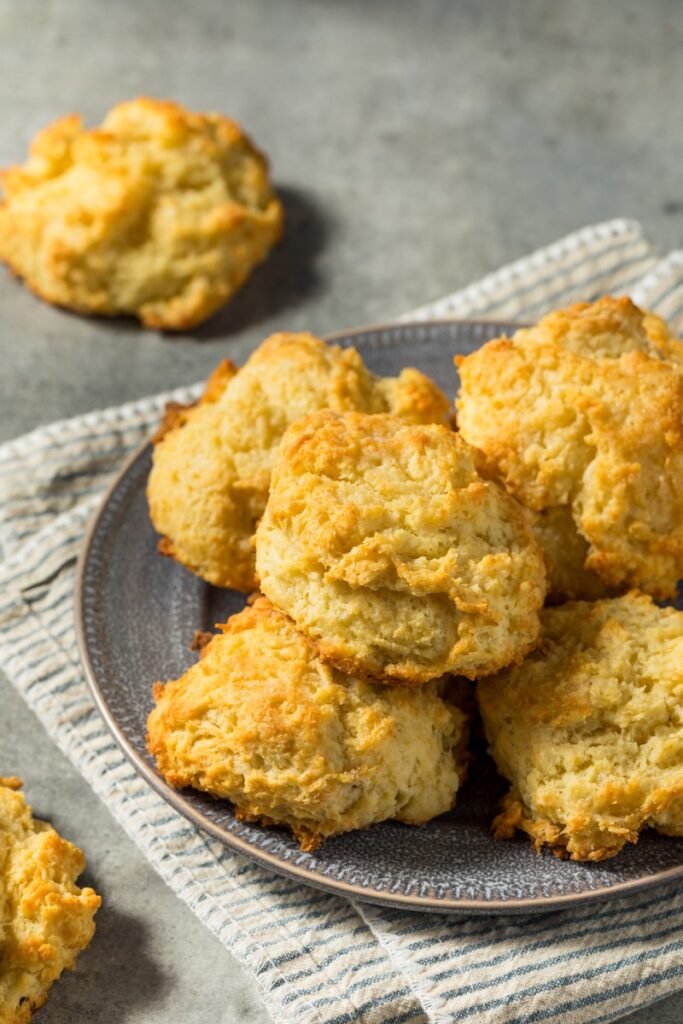
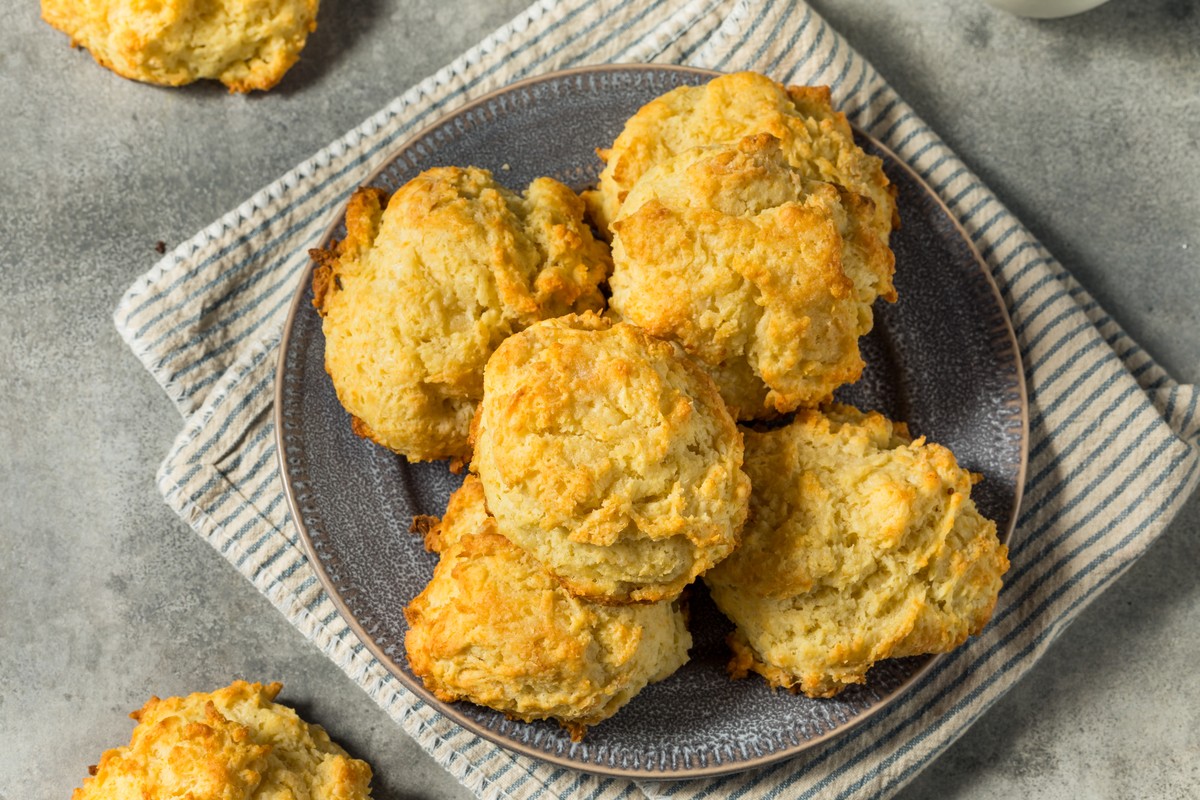
These quick and easy drop biscuits are the ultimate solution for anyone seeking a fuss-free, homemade treat. With no rolling or cutting required, they are perfect for beginners or when time is in short supply. The biscuits boast a light, fluffy texture inside with a golden, slightly crisp exterior, making them a versatile and comforting addition to any meal. Whether paired with butter and jam or served alongside a hearty stew, these drop biscuits are a simple delight with remarkable results.

Ingredients Breakdown
The magic of these drop biscuits lies in simple, pantry-friendly ingredients that come together harmoniously. Each component plays a vital role in creating the ideal texture and flavor.
- Flour: The backbone of the biscuit, all-purpose flour provides structure while keeping the crumb tender. Measuring accurately spooning into the cup and leveling is crucial to avoid a dense result.
- Cornstarch: Often overlooked, cornstarch is the secret to achieving a delicate, soft interior. It lightens the flour mixture and ensures every bite is melt-in-the-mouth tender.
- Cold Butter: Using chilled butter is non-negotiable for flaky biscuits. The cold pieces remain intact when mixed with the flour, creating small steam pockets as the biscuits bake. This results in a light, airy texture with those irresistible buttery layers.
- Buttermilk: The tangy acidity of buttermilk activates the baking soda, enhancing lift and creating a moist, soft crumb. If you don’t have buttermilk, a homemade substitute milk mixed with a splash of lemon juice or vinegar works beautifully.
- Optional Melted Butter: A final brush of melted butter over warm biscuits enhances their flavor and adds a subtle sheen.
Step-by-Step Instructions
Perfecting these drop biscuits is all about simple techniques and precise execution. Follow these steps for effortless, foolproof results.
Preparation: Begin by preheating your oven to 425°F. Position the oven rack in the center to promote even baking. Line a large baking sheet with parchment paper to ensure the biscuits lift cleanly without sticking.
Combining Dry Ingredients: In a large bowl, whisk together the flour, cornstarch, baking powder, baking soda, sugar, and salt. Proper mixing ensures the leavening agents and salt are evenly distributed throughout the dough, preventing uneven rising.
Incorporating Butter: Add the chilled butter cubes to the flour mixture. Using a pastry cutter or your fingertips, work the butter into the dry ingredients until the mixture resembles coarse crumbs. Aim for a sandy texture with a few pea-sized butter pieces scattered throughout. These bits of butter are essential for creating flaky layers.
Adding Buttermilk: Start by adding ¾ cup of buttermilk to the bowl. Use a rubber spatula to gently fold the mixture together. The dough should be slightly sticky and shaggy. If it appears too dry, drizzle in additional buttermilk one tablespoon at a time, stopping as soon as the dough is moistened but not wet. Overmixing at this stage can make the biscuits tough, so handle with care.
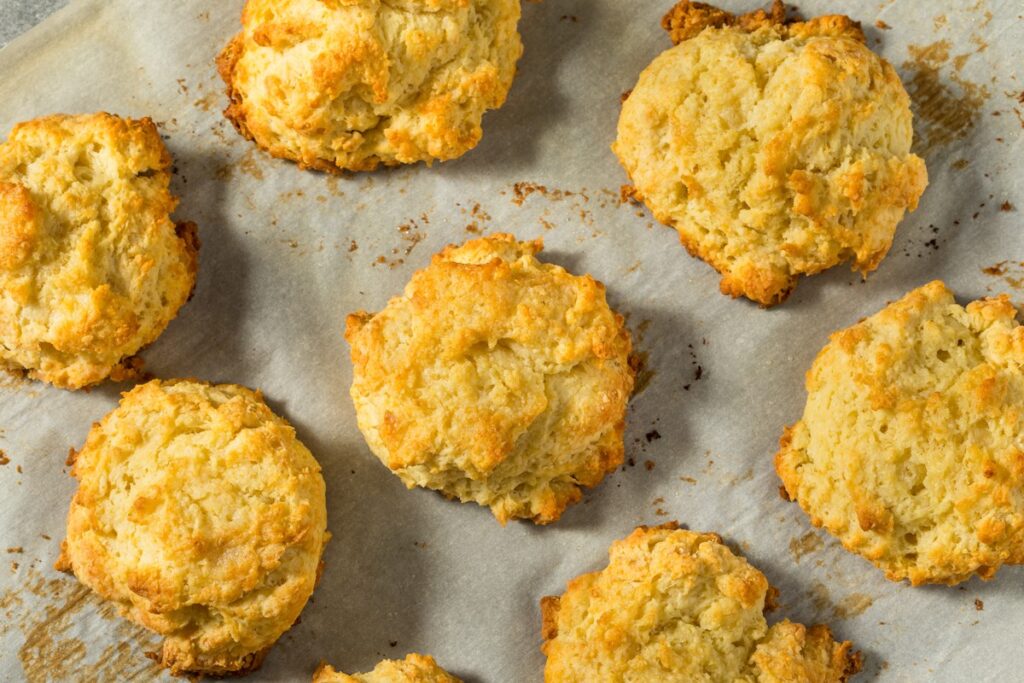
Shaping the Biscuits: Use two spoons to scoop and drop mounds of dough onto the prepared baking sheet. Each mound should be roughly 2½ inches in diameter and slightly uneven in shape. Avoid compacting or smoothing the dough its rugged, irregular surface is part of what makes drop biscuits charming.
Baking to Perfection: Place the biscuits in the preheated oven and bake for 17 to 20 minutes. Watch for a light golden hue on the tops and crisp edges.
Serving Tip: For an added burst of flavor, brush the warm biscuits with melted butter as soon as they come out of the oven.

Recipe Tips & Frequently Asked Questions
- Keep the butter cold: Cold butter is essential for flaky biscuits. To keep it chilled, dice it in advance and return it to the fridge until ready to use.
- Troubleshooting dough texture: If your dough feels too dry, add a splash of buttermilk. If it’s too wet, sprinkle in a little flour. Aim for a shaggy, sticky consistency.
- Rustic biscuit tops: Drop biscuits are meant to look uneven and rugged resist the urge to smooth them out.
- Freezing and storing: Allow biscuits to cool completely, then freeze them in an airtight container. Reheat frozen biscuits in the oven for 5 to 10 minutes at 350°F.
- Why is cold butter important?: Cold butter creates steam pockets as the biscuits bake, which leads to the signature flaky texture.
- Can I use regular milk instead of buttermilk?: Yes, but for the best results, make a buttermilk substitute by adding 1 tablespoon of lemon juice or vinegar to 1 cup of milk. Let it sit for 5 minutes before using.
- How do I know the biscuits are done?: Look for lightly golden tops and crisp edges. Gently tap a biscuit it should sound hollow.
What to Serve With This Recipe
Drop biscuits are as versatile as they are delicious, making them the perfect companion for a variety of meals.
- Classic Pairings: Slather the warm biscuits with softened butter, honey, or a favorite jam for a timeless, comforting treat.
- Savory Options: Serve the biscuits alongside hearty dishes like creamy soups, stews, or fried chicken. Their buttery flavor complements savory meals beautifully.
- Breakfast Ideas: Use drop biscuits as a base for classic Southern sausage gravy or create breakfast sandwiches filled with eggs, cheese, and bacon.

Storing and Freezing
To enjoy biscuits later, proper storage is key. Let the biscuits cool completely before transferring them to an airtight container. For short-term storage, keep them at room temperature for up to 2 days.
For long-term storage, freeze the biscuits in a single layer before placing them in a freezer-safe bag. To reheat, place frozen biscuits directly in a preheated oven at 350°F for 5 to 10 minutes, reviving their crisp edges and soft interior.
Final Notes
These drop biscuits are a celebration of simplicity and flavor. With their fluffy texture, golden exterior, and buttery taste, they’re perfect for breakfast, dinner, or any moment in between. Thanks to minimal effort and a handful of ingredients, this recipe delivers consistent, foolproof results that are sure to become a household favorite.

Drop Biscuits
Ingredients
- 2 cups all-purpose flour spooned into the measuring cup and leveled
- 3 tablespoons cornstarch
- 2 teaspoons baking powder
- ½ teaspoon baking soda
- 1¼ teaspoons salt
- 1 tablespoon sugar
- 11 tablespoons unsalted butter chilled and cut into ½-inch cubes
- ¾ to 1 cup buttermilk or homemade substitute, as needed
- Melted butter for brushing biscuits optional
Instructions
- Preheat your oven to 425°F and position the oven rack in the center. Line a large baking sheet (13×18 inches) with parchment paper to prevent sticking.
- In a large mixing bowl, combine the flour, cornstarch, baking powder, baking soda, sugar, and salt. Whisk the dry ingredients thoroughly to ensure even distribution. Add the cold butter cubes to the flour mixture. Using a pastry cutter or your fingertips, work the butter into the dry ingredients until the texture resembles coarse crumbs with a few larger, pea-sized butter pieces scattered throughout.
- Gradually pour in ¾ cup of buttermilk, mixing gently with a rubber spatula until the dough starts to come together into a shaggy, slightly sticky mass. If the mixture looks too dry, incorporate the remaining buttermilk a tablespoon at a time, just until the dough is moist but not overly wet. Avoid overmixing, as this can compromise the biscuit’s tender crumb.
- With two large spoons, scoop 8 roughly rounded mounds of dough, each about the size of a peach (approximately 2½ inches in diameter), and drop them onto the prepared baking sheet. Keep the mounds uneven and rugged on top there’s no need to smooth or shape them. Space the biscuits evenly apart to allow for spreading during baking.
- Bake the biscuits for 17 to 20 minutes, or until their tops turn a light golden hue and the edges are crisp. If desired, brush the warm biscuits with melted butter for an extra layer of richness.
- Serve the biscuits warm, straight from the oven, to fully enjoy their soft, buttery texture. If reheating, pop them back into a warm oven for a few minutes to revive their freshness. Any extras can be cooled completely and stored in the freezer for future enjoyment.
