Rich Artisan Bread Recipe
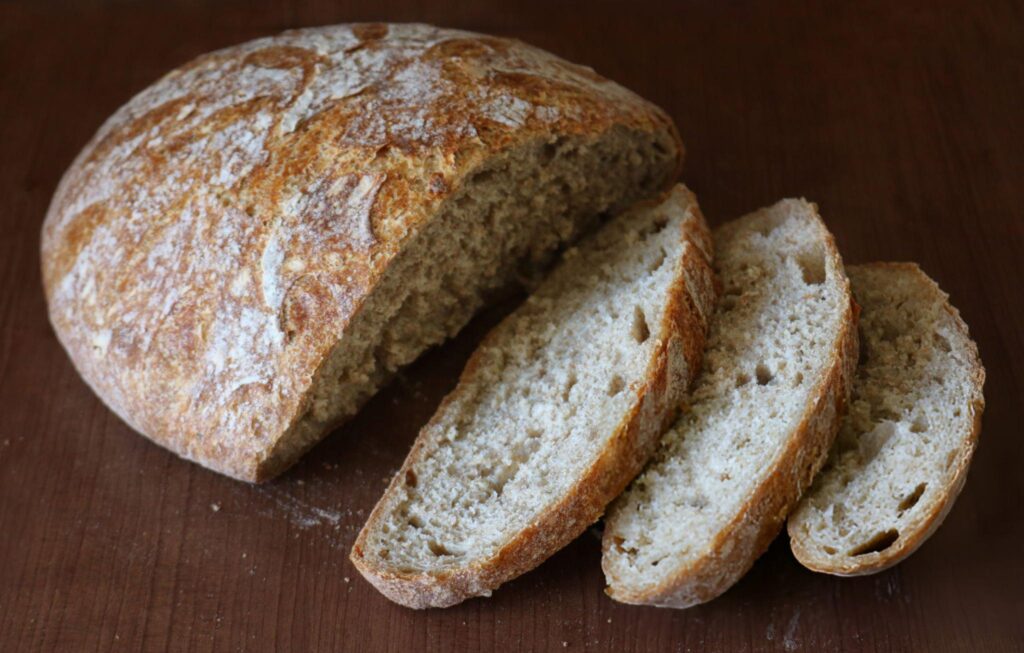
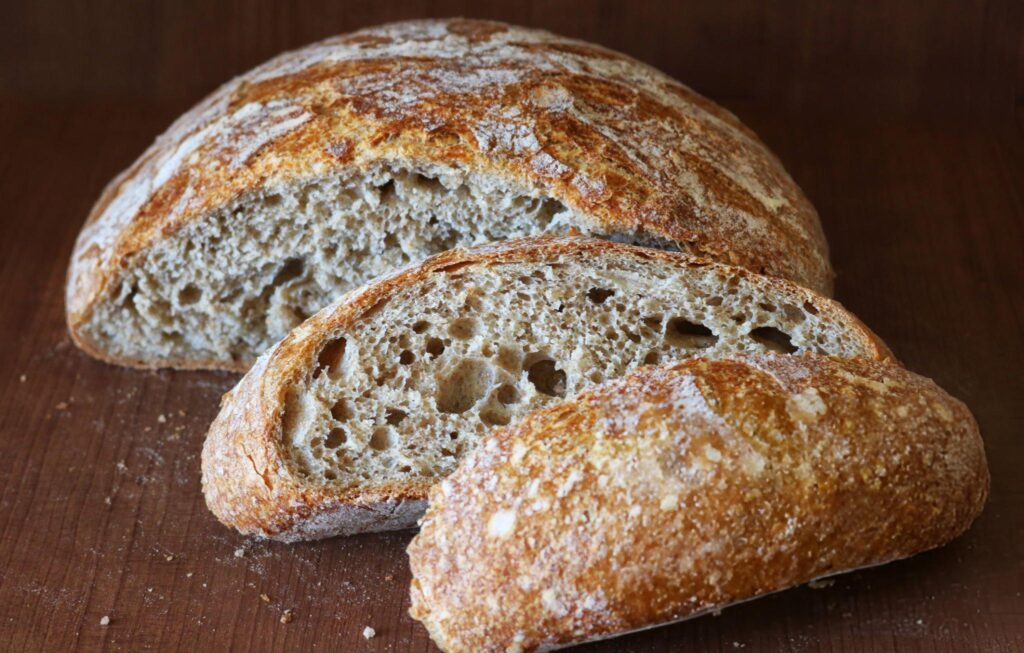
Homemade artisan bread is a culinary delight that combines simplicity and flavor in a way few recipes can. Whether you’re a baking novice or an experienced baker, this recipe promises outstanding results with minimal effort. The no-knead method eliminates the intimidation of bread-making, relying on time and moisture to develop a light, airy crumb and a crisp, golden crust. With just a handful of ingredients, you’ll craft a rustic, bakery-quality loaf that’s perfect for any occasion.

Ingredients You Will Need
Making artisan bread requires only a few pantry staples, but quality and attention to detail will ensure your success.
- All-purpose flour: Opt for high-quality flour like King Arthur for consistent texture and flavor. If desired, you can substitute part of the flour with bread flour for a chewier result.
- Instant or rapid-rise yeast: This type of yeast eliminates proofing, making it perfect for quick preparation. Avoid active dry yeast unless you’re prepared to adjust rising times.
- Kosher salt: A key ingredient for flavor. Fine table salt can be used, but reduce the amount slightly to avoid over-salting.
- Lukewarm water: The water temperature should be about 100°F warm enough to activate the yeast without killing it.
- Cornmeal: Essential for dusting the baking sheet, preventing sticking, and adding a rustic texture to the loaf’s base.
If you’re experimenting, whole wheat flour can be incorporated, though it will yield a denser loaf. Always ensure proper measurements for best results.
Step-By-Step Instructions to Make Artisan Bread
Mixing the Dough
Start with a large, sturdy bowl to accommodate the rising dough. Combine the flour, kosher salt, and instant yeast evenly with a whisk. Gradually add lukewarm water, mixing continuously with a wooden spoon. Stir until the mixture transforms into a shaggy, sticky dough, ensuring no pockets of dry flour remain. The goal is moisture resist the temptation to over-mix or knead. Adjust with small amounts of water or flour as needed.
First Rise
Cover the dough loosely with plastic wrap and place the bowl in a warm, draft-free spot. Allow the dough to rise undisturbed for about 2 hours. During this time, the yeast activates, and the dough will double in size, creating a soft, bubbly texture. If you’re planning to bake later, transfer the dough to the refrigerator, where it can rest for up to 14 days, developing deeper flavors over time.
Shaping the Dough
Lightly dust your hands and the dough’s surface with flour to make handling easier. Gently pull out one-third of the dough and shape it into a round loaf by stretching and tucking the edges underneath. Avoid overworking the dough; this step should only take 30 seconds to preserve the airiness. Place the shaped dough onto a cornmeal-dusted baking sheet.
Resting and Proofing
Let the shaped dough rest uncovered at room temperature for 40 minutes. If the dough has been refrigerated, extend the resting period to 60–90 minutes to allow it to rise properly. The dough may spread slightly during this time, which is normal and adds to its rustic charm.
Baking to Perfection
Preheat the oven to 450°F and position one rack in the middle and one in the lowest position. Place a metal cake pan or broiler pan on the bottom rack to create steam during baking.
Before baking, generously dust the dough with flour and score the surface with a sharp knife. Shallow cuts allow the bread to expand beautifully while baking. Quickly slide the baking sheet into the oven and pour hot water into the metal pan to produce steam. Bake the loaf for 30 minutes, or until it develops a deep golden-brown crust.
Cooling the Loaf
Once baked, transfer the bread to a wire rack to cool completely. Allowing the loaf to cool properly ensures the interior finishes setting and avoids a gummy texture. While the temptation to slice it immediately is strong, patience will reward you with the perfect crumb structure.

Recipe Tips
- Measuring flour: Spoon and level the flour into your measuring cup to avoid compacting it. Too much flour can result in a dense loaf.
- Adjusting dough texture: Add small amounts of flour or water to achieve a sticky but workable dough.
- Refrigeration: Storing the dough in the refrigerator for up to 14 days develops deeper flavor.
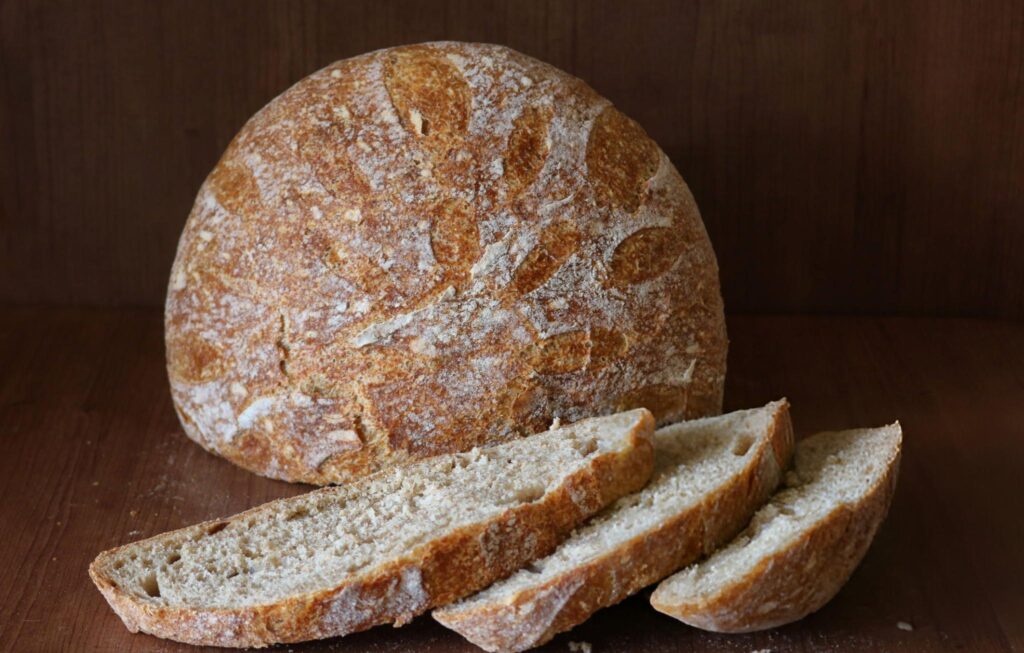
- Decorative scoring: Use a sharp knife or bread lame to create patterns. It’s functional and adds visual appeal.
- Troubleshooting: If the bread is dense, ensure the yeast is fresh and the dough has proofed properly. Uneven crusts can be improved by consistent oven temperature and steam.
What to Serve With This Artisan Bread Recipe
This rustic artisan bread is versatile and pairs wonderfully with a variety of dishes and spreads:
- Classic accompaniments: Serve warm slices with creamy butter, a drizzle of quality olive oil, or a dollop of homemade jam.
- Soups and stews: Dip hearty slices into rich, comforting soups, such as tomato basil, minestrone, or beef stew.
- Gourmet sandwiches: Use the bread to make elevated sandwiches with fresh mozzarella, tomatoes, and pesto, or roast beef with caramelized onions.
- Dips and spreads: Pair with hummus, baba ganoush, or whipped ricotta for a delicious appetizer.
- Artisan toast: Top toasted slices with avocado, poached eggs, or ricotta with honey for a satisfying breakfast.

How to Store and Reheat the Bread
To keep your artisan bread at its peak:
- Storing: Leave the loaf cut-side down on a cutting board or plate for up to one day. For longer storage, wrap the bread in parchment or freeze individual slices.
- Freezing: Slice the loaf before freezing so you can defrost pieces as needed. Wrap slices tightly in plastic or foil and store in a freezer-safe bag.
- Reheating: For a fresh-from-the-oven texture, reheat slices in a toaster or place the entire loaf in a 350°F oven for 10–15 minutes.
Frequently Asked Questions
- Can I use active dry yeast instead of instant yeast? Yes, but activate it first in warm water before mixing it with the flour.
- How can I tell if my dough has the right consistency? The dough should be sticky and pliable without being runny or dry.
- Why is steam important for baking artisan bread? Steam creates a crisp crust by delaying the setting of the outer dough, allowing it to expand fully.
- Can I bake this artisan bread in a Dutch oven? Absolutely! A preheated Dutch oven helps create steam naturally and delivers exceptional results.
- How long will the bread stay fresh after baking? The bread is best on the day it’s baked but can be stored for up to 2 days or frozen for longer.
Conclusion
Artisan bread making combines minimal effort with remarkable results, proving that homemade loaves can rival bakery-quality bread. By mastering this simple artisan bread recipe, you’ll enjoy golden crusts, airy crumbs, and the satisfaction of creating something truly special. Embrace the process, experiment with flavors, and share your rustic masterpiece with those you love.

Artisan Bread Recipes
Ingredients
- 3 cups lukewarm water approximately 100°F; no need for precision
- 1½ tablespoons instant or rapid-rise yeast refer to note
- 4 teaspoons kosher salt
- 6½ cups all-purpose flour King Arthur preferred; measured by spooning and leveling
- Cornmeal for dusting the baking sheet
Instructions
- In a large 6-quart mixing bowl, combine the flour, salt, and yeast, whisking them together evenly. Gradually pour in the lukewarm water, mixing the dough with a sturdy wooden spoon until no dry flour remains. The mixture should be moist, cohesive, and slightly sticky. If you notice the dough feels too dry, add a tablespoon or two of water; conversely, if it feels overly wet, incorporate a touch more flour. Refer to visual cues to ensure the dough’s texture is correct.
- Loosely cover the bowl with plastic wrap and leave it undisturbed in a warm spot for about 2 hours. At this stage, the dough will rise significantly. If you’re not baking immediately, transfer the bowl to the refrigerator, where the dough can be stored for up to 14 days. Note that it will contract slightly when chilled this is normal. Avoid punching down the dough at any point, and keep it covered loosely to allow for airflow.
- Prepare a sturdy baking sheet by dusting its surface liberally with cornmeal.
- Sprinkle the dough’s surface and your hands with a light dusting of flour. Gently pull out one-third of the dough, ensuring the outside is coated lightly to prevent sticking without overworking it. Shape the dough into a ball by stretching and tucking the ends underneath to create a smooth surface, completing this in about 30 seconds. Transfer the dough ball onto the prepared baking sheet. Leave it uncovered at room temperature for 40 minutes to rest. If the dough has been refrigerated, extend the rise time to 60–90 minutes for an airier and more open crumb. Expect the dough to spread or flatten slightly, which is perfectly fine.
- Preheat the oven to 450°F. Adjust two oven racks one to the bottom and the other to the middle position. Place a sturdy metal cake pan (or broiler pan; avoid glass) on the bottom rack, as it will be used to generate steam during baking.
- Before baking, dust the dough generously with flour. Use a sharp knife to score the dough’s surface with shallow, ½-inch-deep slashes. Create a pattern of your choice, such as a cross, scallop, or tic-tac-toe design, to give the loaf a decorative finish.
- Place the baking sheet in the oven, and swiftly pour 1 cup of hot tap water into the metal pan on the bottom rack. Be quick to minimize heat loss. Bake the bread for about 30 minutes or until the crust develops a deep golden-brown color.
- Transfer the baked loaf to a wire rack to cool completely before slicing. Freshly baked, this bread is best enjoyed on the day it’s made. To preserve freshness, place the sliced loaf cut-side down on a plate or cutting board and leave it uncovered. If you don’t finish it within a day, slice and freeze the remaining bread for later enjoyment.
