Rich Brazilian Cheese Bread Recipe
Ingredients You Will Need
The magic behind Brazilian cheese bread lies in its simple yet carefully chosen ingredients. Tapioca flour, also known as tapioca starch, is the star of the recipe. This gluten-free flour creates a unique chewy texture that’s impossible to replicate with regular flour. Pecorino Romano or Parmigiano Reggiano adds a robust, salty bite, perfectly complemented by the melty creaminess of shredded mozzarella or cheddar.
Eggs provide structure and help bind the batter, while milk and vegetable oil lend moisture, ensuring a soft, airy interior. A pinch of baking powder gives the cheese bread a light puff, and salt enhances the flavors, bringing everything together beautifully.
For substitutions, you can swap Pecorino Romano for any hard, salty cheese like Asiago or aged cheddar. If you prefer a richer flavor, experiment with extra-sharp cheddar or even Gruyère. As for the oil, a neutral option like canola works well, but you can use melted butter for a deeper flavor.

Step-by-Step Instructions for Perfect Results
Before diving into the Brazilian cheese bread recipe, ensure you have all your tools and ingredients ready to streamline the process and achieve a flawless bake.
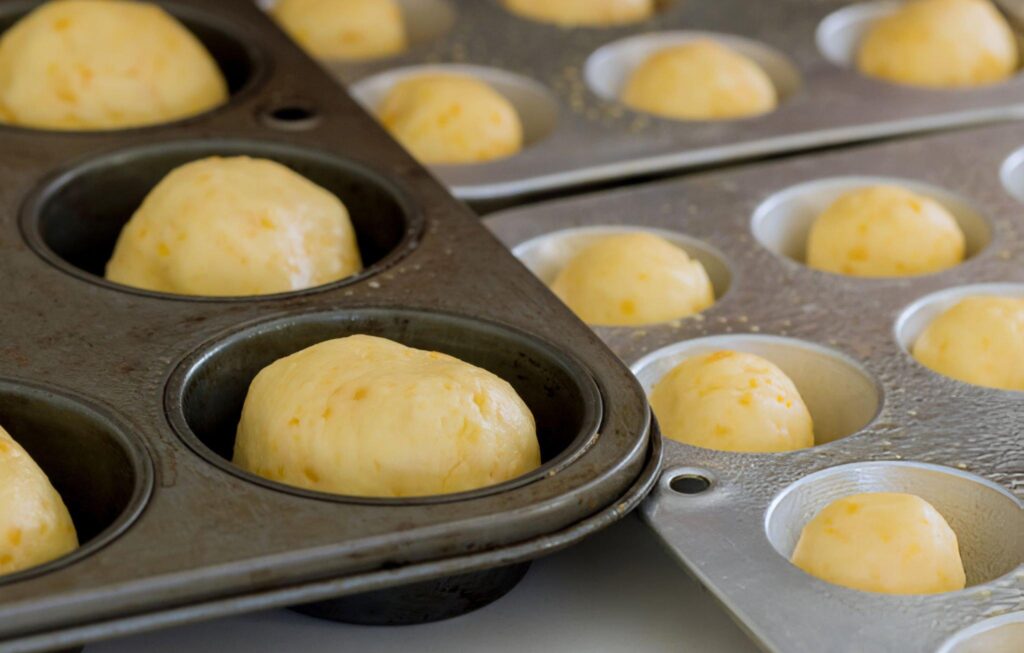
Start by preheating your oven to 400°F (205°C). Position the oven rack in the center for even baking. Lightly grease a mini muffin tin with non-stick spray to prevent sticking and make clean-up easier. Mini muffin pans are ideal because they provide the perfect bite-sized portions and help the bread puff up evenly.
In a blender, combine the milk, eggs, and vegetable oil. Blend for just a few seconds until smooth this step ensures the wet ingredients are fully incorporated without trapping too much air. Next, add the tapioca flour, grated Pecorino Romano, shredded mozzarella, salt, and baking powder. Pulse the mixture briefly, then scrape down the sides with a spatula to catch any unmixed bits of flour or cheese. Blend once more for a few seconds, stopping as soon as the batter is silky. Overmixing at this stage can introduce too much air, making the batter difficult to pour and potentially affecting the final texture.
Carefully pour the batter into the mini muffin wells, filling them three-quarters of the way. If precision is a priority, use a spoon or small ladle to distribute the batter evenly.
Place the muffin tin in the preheated oven and bake for 15 to 18 minutes. Keep an eye on the cheese breads as they rise and develop a golden hue. It’s normal for the centers to sink slightly as they cool this doesn’t affect their soft, cheesy interior. Once baked, remove the pan from the oven and allow the cheese breads to cool for a minute before gently popping them out. Serve warm and enjoy their irresistible chewiness and flavor.

Recipe Tips
- Avoiding common mistakes: Overmixing the batter can add unwanted air, so blend just enough to combine. This will help achieve that signature chewy texture.
- How to check when the cheese breads are ready: They should look puffed and lightly golden. Gently press the top if it feels firm and springy, they’re done.
- Tips for storing leftovers: Keep them in an airtight container for up to 2 days. For longer storage, freeze them and reheat as needed.
What to Serve With This Brazilian Cheese Bread Recipe
Brazilian cheese bread pairs perfectly with a variety of dips and accompaniments. Serve them with creamy garlic butter, spicy salsa, or marinara sauce for a burst of flavor. Pairing them with a herbed cream cheese spread or a tangy chimichurri sauce will elevate their savory profile.
These versatile cheese bites are perfect for breakfast alongside scrambled eggs and coffee or as a snack during afternoon tea. For dinner, serve them as a side dish to hearty soups, stews, or grilled meats. They make an excellent appetizer for parties or gatherings, where their bite-sized format is always a hit.
How to Customize Your Brazilian Cheese Bread
For a fun twist, experiment with different cheeses to add unique flavor profiles. While mozzarella creates a mild, melty texture, aged cheddar or Gruyère will deliver a sharper taste. You can even mix two or three cheeses for a more complex flavor.
To infuse the cheese breads with additional layers of taste, stir in fresh herbs like rosemary, thyme, or parsley before blending. A pinch of garlic powder or smoked paprika adds a subtle yet delicious depth.
If you’re catering to dietary needs, tapioca flour is naturally gluten-free, making this recipe a safe option for those avoiding gluten. Just ensure all other ingredients, like cheese and baking powder, are certified gluten-free.

Frequently Asked Questions
- Why did my cheese bread collapse in the center?
This is completely normal due to the airy nature of the batter. The centers deflate slightly as they cool, but this doesn’t impact their texture or flavor. - Can I make this Brazilian cheese bread recipe without a blender?
Yes, you can mix the batter by hand using a whisk, though it may take a bit more effort to eliminate lumps. - How do I store and reheat Brazilian cheese bread?
Store them in an airtight container at room temperature for up to 2 days. To reheat, pop them in a 350°F oven for about 5 minutes, or use an air fryer for a quicker result. - Can I use regular flour instead of tapioca flour?
No, tapioca flour is essential for achieving the chewy texture unique to Brazilian cheese bread. Regular flour will produce a completely different result.
Serving and Storing Instructions
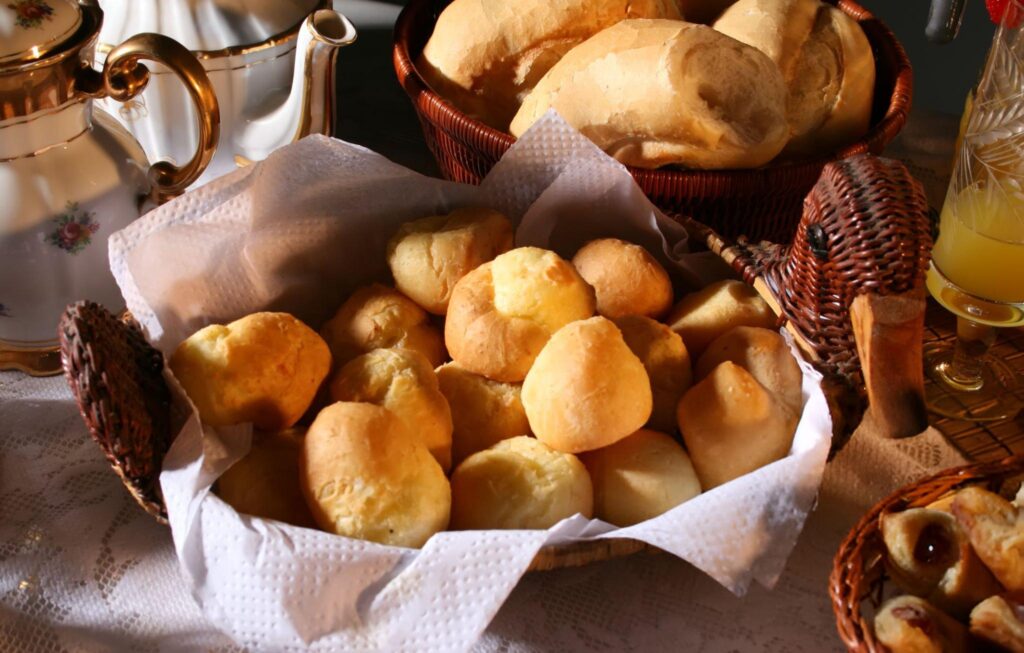
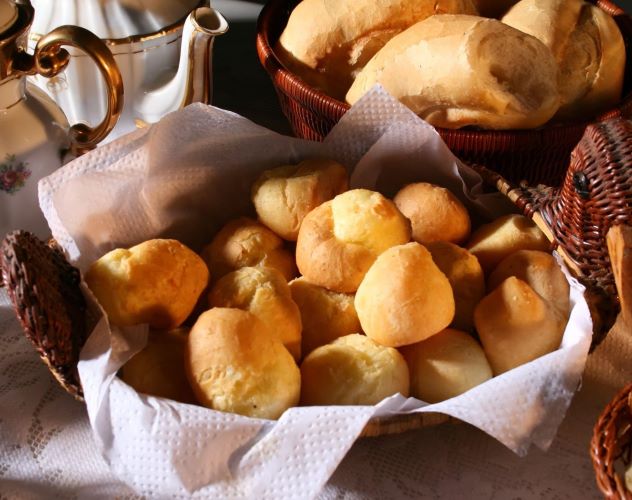
Serve the Brazilian cheese breads fresh out of the oven while they’re still warm and at their fluffiest. Their irresistible chewiness and cheesy flavor shine brightest when they’re freshly baked.
If you have leftovers, allow them to cool completely before storing. Place them in an airtight container or resealable bag to keep them soft for up to 2 days. To freeze, arrange the cooled cheese breads in a single layer on a baking sheet, then transfer them to a freezer-safe bag once firm. Reheat directly from the freezer in a 350°F oven or toaster oven for about 10 minutes, and they’ll taste just as delicious as the first day.

Brazilian Cheese Bread
Ingredients
- 1 cup tapioca flour also referred to as tapioca starch; see note
- ½ cup grated Pecorino Romano or Parmigiano Reggiano cheese
- ½ cup shredded Mozzarella cheese or Cheddar, if preferred
- 2 large eggs
- ½ cup milk
- ¼ cup vegetable oil
- Heaping ½ teaspoon salt
- ½ teaspoon baking powder
Instructions
- Preheat your oven to 400°F (205°C) and position the oven rack in the center. Lightly coat a mini muffin tin with non-stick cooking spray to prevent sticking and ensure easy release.
- In a blender, combine the milk, eggs, and vegetable oil. Blend on low speed for a few seconds until the mixture becomes smooth and uniform. Next, add the tapioca flour, Pecorino Romano (or Parmesan), mozzarella (or cheddar), salt, and baking powder to the blender. Pulse briefly to incorporate all the ingredients. Use a spatula to scrape down any flour or cheese stuck to the sides, then blend again briefly, just until smooth. Be careful not to over-mix, as excessive air can make the batter tricky to pour and result in less-than-perfect texture.
- Carefully pour the batter into the prepared muffin wells, filling each cavity to about three-quarters full. If needed, use a spoon or small ladle for precision.
- Transfer the muffin tin to the preheated oven and bake for 15 to 18 minutes, or until the cheese breads are beautifully puffed and take on a light golden hue. Don’t worry if the centers deflate slightly during or after baking; this is completely normal and does not affect their deliciousness.
- Once baked, remove the pan from the oven and carefully release the cheese breads. Serve them while still warm for the best texture and flavor. Enjoy these airy, cheesy bites as a snack, side dish, or comforting treat!
