Rich Chicken Quesadillas
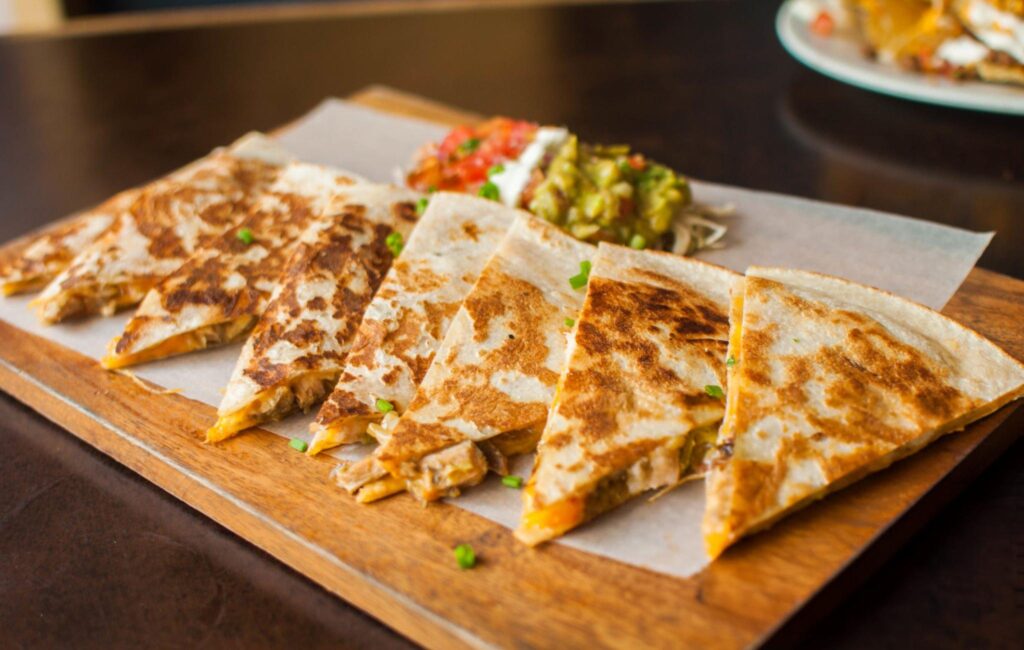
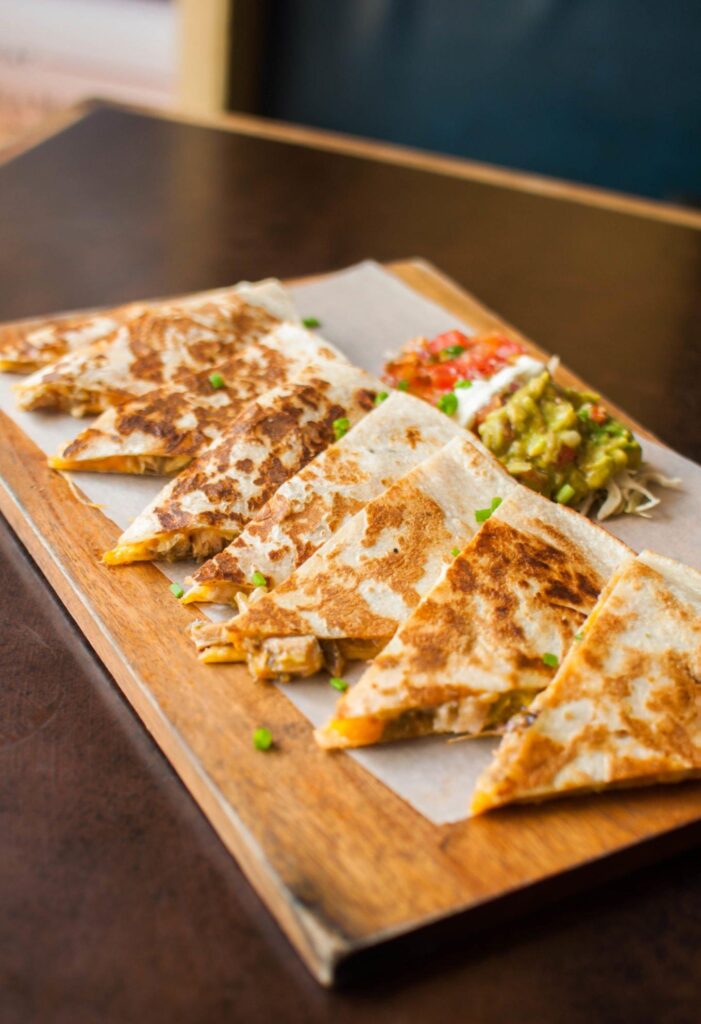
When it comes to simple yet satisfying meals, chicken quesadillas reign supreme. This recipe combines tender, spiced chicken with gooey melted cheese folded into crisp flour tortillas, creating an irresistible dish perfect for any occasion. Whether you’re whipping up a quick weeknight dinner, serving a family-friendly meal, or indulging in a snack that hits the spot, these chicken quesadillas are the ultimate comfort food. Quick to make and endlessly customizable, this chicken quesadillas recipe promises a harmonious blend of flavors and textures.

Ingredients You Will Need
To create these flavorful quesadillas, you’ll need a combination of pantry staples and fresh ingredients:
- For the Filling: Chicken tenderloins or boneless, skinless chicken breasts serve as the base, seasoned with a blend of salt, smoked paprika, garlic powder, oregano, and ground cumin.
- For the Tortillas: Large burrito-sized flour tortillas (10-inch) provide the perfect size for folding and crisping up in the skillet.
- For the Cheese: Shredded Mexican Blend or Monterey Jack cheese melts beautifully, delivering that irresistible gooey pull.
- For the Sauce: A thick and chunky salsa combines with water to create a rich, tangy coating for the shredded chicken.
- Optional Toppings: Sour cream and fresh lime wedges offer a cool, zesty finish to balance the dish.

Step-by-Step Instructions
Season and Cook the Chicken
To infuse the chicken with flavor, coat it generously with a blend of salt, smoked paprika, garlic powder, dried oregano, and cumin. Heat a large nonstick skillet over medium-high heat with a drizzle of olive oil. Once shimmering, add the seasoned chicken strips in a single layer and let them sear undisturbed for a couple of minutes to develop a golden-brown crust. Flip, reduce the heat, and finish cooking until tender and juicy.
Simmer the Salsa Sauce
After removing the chicken from the skillet, pour in the chunky salsa and water, scraping up any bits left behind. Allow the sauce to simmer over medium-low heat, reducing to a thick consistency in about 7 to 9 minutes. This step intensifies the salsa’s tangy flavors while creating the perfect base to coat the shredded chicken.
Shred the Chicken and Combine With Sauce
Once the chicken is cool enough to handle, shred it finely using two forks. Stir the shredded chicken back into the simmered salsa sauce, ensuring every piece is evenly coated with flavor. Reserve half of the mixture for future use this filling freezes beautifully and makes meal prep a breeze.
Assemble the Quesadillas
Heat a small amount of oil in the skillet and lay a tortilla flat, swirling it slightly to coat the bottom with oil. Sprinkle a generous amount of cheese evenly over the surface, leaving a small border around the edge. Spread a portion of the chicken mixture over one side of the tortilla, then let the cheese melt just enough to act as a glue. Fold the tortilla in half, pressing gently to seal the edges.
Cook the Quesadillas to Perfection
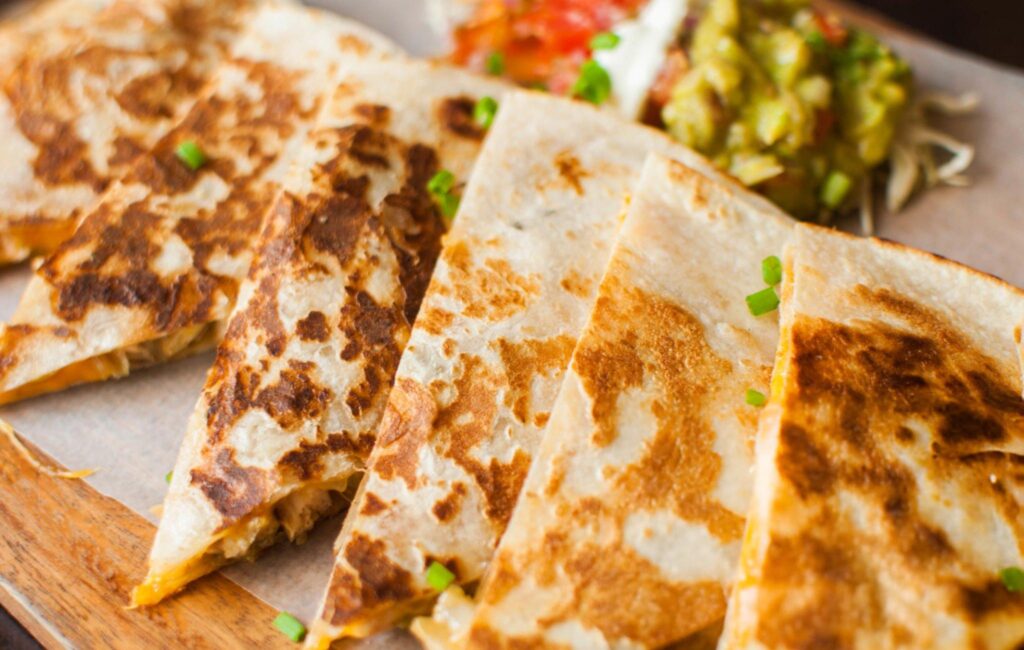
Cook the folded quesadilla for 1 to 2 minutes per side, adjusting the heat as needed to avoid burning. You’re looking for a crisp, golden exterior with perfectly melted cheese inside. Repeat the process for the remaining tortillas, keeping the cooked quesadillas warm under foil until ready to serve.

Recipe Tips & Frequently Asked Questions
- Choosing the Best Cheese
- Use Mexican Blend or Monterey Jack for optimal melting. Avoid pre-shredded cheese with anti-caking agents, as they hinder a smooth melt.
- Avoid Overcooking the Chicken
- Searing the chicken over medium-high heat and finishing at a lower temperature ensures juicy, tender strips. Overcooking can result in dryness.
- Storage Tips for Leftover Filling
- Store extra chicken filling in an airtight container in the refrigerator for up to 3 days or freeze for up to 2 months.
- Customizing Spice Levels
- Adjust the smoked paprika and cumin for a milder version, perfect for kids or spice-sensitive eaters.
- Can I Use Pre-Cooked Rotisserie Chicken?
- Yes, shredded rotisserie chicken works perfectly. Simply warm it with the salsa sauce to infuse it with flavor.
- Best Tortilla Type
- Flour tortillas are ideal for crisp quesadillas, while corn tortillas provide a more traditional but less flexible option.
- Preventing Soggy Quesadillas
- Avoid overloading the tortillas with filling. Cooking over medium heat allows for a crisp exterior without trapping excess moisture.
- Freezing Quesadillas
- Assemble and cook the quesadillas as directed, let them cool, and freeze individually. Reheat in a skillet or oven for a quick meal.
What to Serve With This Chicken Quesadillas Recipe
Chicken quesadillas are versatile and pair well with a variety of sides. Serve them alongside:
- Fresh Salsa or Pico de Gallo: Adds a refreshing, tangy kick that complements the richness of the quesadillas.
- Creamy Guacamole: The creamy texture and subtle seasoning balance out the savory filling.
- Charred Corn Salad: A bright, smoky corn salad adds freshness and crunch to the plate.
- Tortilla Chips: Perfect for scooping up leftover salsa, guacamole, or sour cream.
- Refreshing Beverages: Pair with a zesty margarita, lime spritzer, or sparkling water infused with fresh citrus.

Make Ahead and Storage Suggestions
If you’re short on time, prepare the chicken filling a day or two in advance. Store it in the refrigerator, and reheat it gently before assembling the quesadillas. Fully cooked quesadillas can also be stored in the refrigerator and reheated in a skillet or oven to restore their crispiness. For freezing, cool the quesadillas completely, stack them with parchment paper in between, and freeze them in airtight bags for up to 2 months.
Final Thoughts
These chicken quesadillas offer a harmonious blend of bold flavors, cheesy goodness, and crispy textures that are hard to resist. Whether you’re serving them as a casual dinner, a crowd-pleasing appetizer, or a satisfying snack, they are guaranteed to deliver every time. Don’t be afraid to get creative with fillings, cheeses, or toppings to make this recipe uniquely yours. Once you try these quesadillas, they’ll quickly become a staple in your kitchen rotation.

Chicken Quesadillas
Ingredients
- 1 pound chicken tenderloins tendons removed or boneless, skinless chicken breasts, cut into 1½-inch strips
- 4 large burrito-size 10-inch flour tortillas
- 3 cups shredded Mexican Blend or Monterey Jack cheese see note
- 1 cup thick and chunky salsa e.g., Chi-Chi’s Medium
- ½ cup water
- 1½ tablespoons olive oil plus more for cooking
- ¾ teaspoon salt
- ½ teaspoon smoked paprika
- ½ teaspoon garlic powder
- ½ teaspoon dried oregano
- ½ teaspoon ground cumin
For Serving (optional):
- Sour cream
- Lime wedges
Instructions
- Start by blending the salt, smoked paprika, garlic powder, oregano, and cumin in a small bowl. Sprinkle the seasoning mixture generously over the chicken, ensuring even coverage on all sides.
- In a large nonstick skillet, heat 1½ tablespoons of olive oil over medium-high heat until the oil shimmers. Place the seasoned chicken strips into the skillet and cook undisturbed for 2 to 3 minutes until golden brown. Flip the chicken pieces, reduce the heat to medium, and continue cooking for another 3 to 4 minutes until fully cooked. Once done, transfer the chicken to a plate or cutting board.
- Pour the salsa and water into the same skillet, stirring to combine the flavors left behind from the chicken. Let the mixture simmer uncovered over medium-low heat for about 7 to 9 minutes, or until it thickens and most of the liquid has evaporated.
- While the sauce is simmering, use two forks to shred the chicken into small, bite-sized pieces. Once the sauce reaches a thick consistency, remove it from the heat if the chicken isn’t ready. Stir the shredded chicken, along with any juices from the plate, into the sauce until evenly coated. Scoop out half of the chicken mixture and save it in a container for future use (refrigerate or freeze as needed).
- Clean the skillet and return it to the stove. Add ½ tablespoon of oil over medium heat. Place one tortilla into the skillet, pressing gently to swirl it around and evenly coat the bottom with oil. Evenly sprinkle ¾ cup of shredded cheese across the surface of the tortilla, leaving about a ½-inch border around the edges. Spread approximately ⅓ cup of the chicken mixture over one half of the tortilla.
- Allow the cheese to melt slightly, then fold the tortilla in half to form a crisp half-moon shape. Continue cooking for 1 to 2 minutes on each side, or until the tortilla is golden brown and crispy and the cheese has melted completely. Adjust the heat as necessary to avoid burning.
- Repeat this process with the remaining oil, tortillas, cheese, and chicken mixture. If needed, lightly cover the prepared quesadillas with foil to keep them warm. Once all the quesadillas are ready, allow them to rest briefly to firm up the filling.
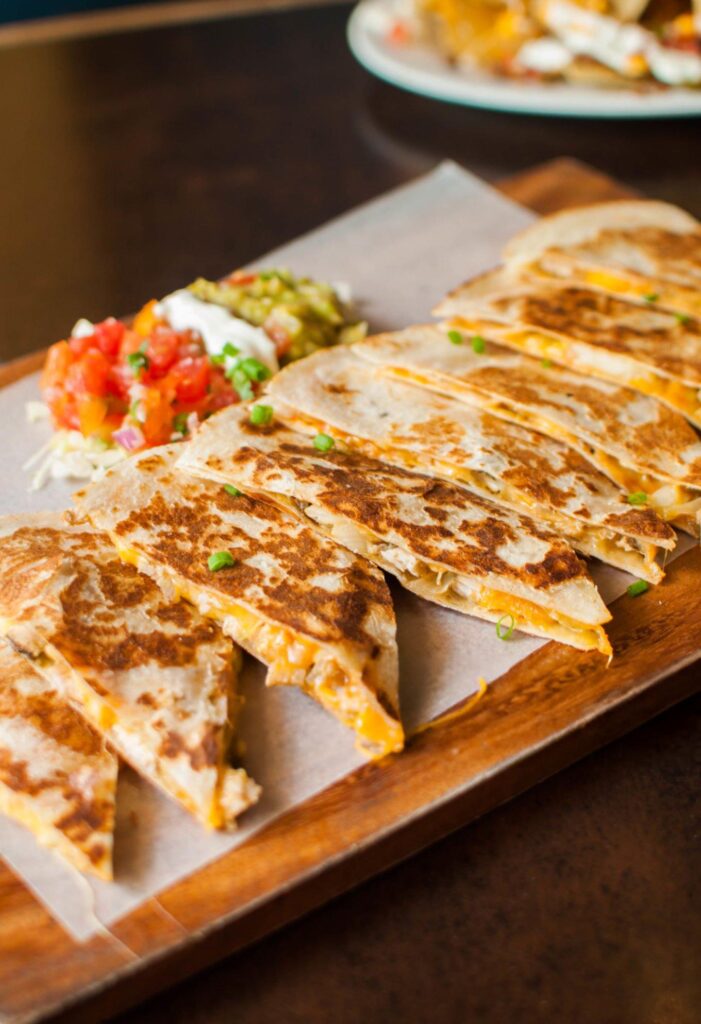
- Slice each quesadilla into wedges and serve with sour cream and lime wedges on the side for a fresh, tangy finish.
