Soft Chocolate Lava Cake
Few desserts evoke pure indulgence like a chocolate lava cake. With its molten center and delicate outer crust, this dessert offers an experience that’s both luxurious and comforting. It’s the ultimate treat for chocolate lovers and an impressive showstopper for dinner parties or special occasions. What makes this recipe exceptional is its simplicity, allowing even novice bakers to create a professional-quality dessert with ease.

Ingredients Breakdown
The beauty of a chocolate lava cake lies in its simplicity, where a few high-quality ingredients transform into a decadent masterpiece. Each component plays a pivotal role in delivering the perfect texture and flavor.
Eggs and egg yolks are the structural foundation, providing the richness and stability needed for the cake’s delicate crust and molten core. Unsalted butter enhances the chocolate’s flavor while creating a creamy consistency. Semi-sweet chocolate, ideally between 50-60% cocoa, delivers a balanced depth without overpowering sweetness choosing high-quality chocolate here is non-negotiable.
Soft light brown sugar lends subtle caramel undertones and complements the chocolate’s richness. A touch of vanilla extract adds warmth, while a pinch of salt intensifies the flavors. All-purpose flour ensures structure without compromising the gooey center. Finally, powdered sugar for dusting adds a refined finish to this luxurious dessert.

Step-by-Step Instructions for Perfection
Creating a chocolate lava cake involves a balance of precision and intuition. Following these steps will guide you to dessert perfection.
Begin by preparing the ramekins. Generously coat the insides with butter and dust with flour. This ensures the cakes release seamlessly once baked, preventing any frustrating mishaps.
Next, melt the butter and chocolate. While a double boiler offers even heat distribution, a microwave is a quicker alternative. Use short intervals to avoid overheating, stirring often to achieve a silky mixture. The residual heat will complete the melting process, ensuring a smooth, glossy consistency.
In a separate bowl, whip the eggs, egg yolks, sugar, vanilla, and salt. Beating this mixture until pale and thick is crucial it should be airy enough to form ribbons that momentarily sit on the surface before sinking. This step creates the cake’s fluffy exterior.
Gently fold the melted chocolate mixture into the whipped eggs. Sifting in the flour ensures a lump-free batter, and folding carefully preserves the airiness. Overmixing can deflate the batter, compromising the cake’s texture.
Fill the ramekins about three-quarters full and tap them lightly to remove air pockets. Baking requires precision; the edges should set while the center remains jiggly. Monitor closely, as a minute too long in the oven can turn the molten center into a solid.

Recipe Tips & Frequently Asked Questions
How to Avoid Overbaking and Preserve the Lava Center:
- Watch for subtle cues: the edges will firm up while the center remains slightly wobbly.
Adjusting the Recipe for Different Ramekin Sizes:
- Smaller ramekins will bake faster, while larger ones may require an extra minute or two.
Alternative Methods to Melt Chocolate (Double Boiler vs. Microwave):
- A double boiler provides more control, while a microwave is faster but requires vigilance to avoid burning.
Ensuring a Clean Turnout: Greasing and Flour Application:
- Use butter liberally and a light dusting of flour for easy release. Tap out excess flour to avoid clumps.
Can I Make This Recipe Ahead of Time?
- Yes, the batter can be refrigerated for a few hours. Bring it to room temperature before baking.
What if I Don’t Have Ramekins?
- Oven-safe mugs or small bowls can substitute, though baking times may vary.
How Do I Know When the Cakes Are Done?
- The edges should pull away slightly from the ramekin, and the center should jiggle gently when tapped.
Can This chocolate lava cake Recipe Be Adjusted for Dietary Restrictions?
- Substitute dairy-free chocolate and vegan butter for a lactose-free version. Gluten-free flour works as a suitable alternative for those avoiding gluten.
What to Serve With This Recipe
Pairing this dessert with complementary accompaniments elevates its decadence.
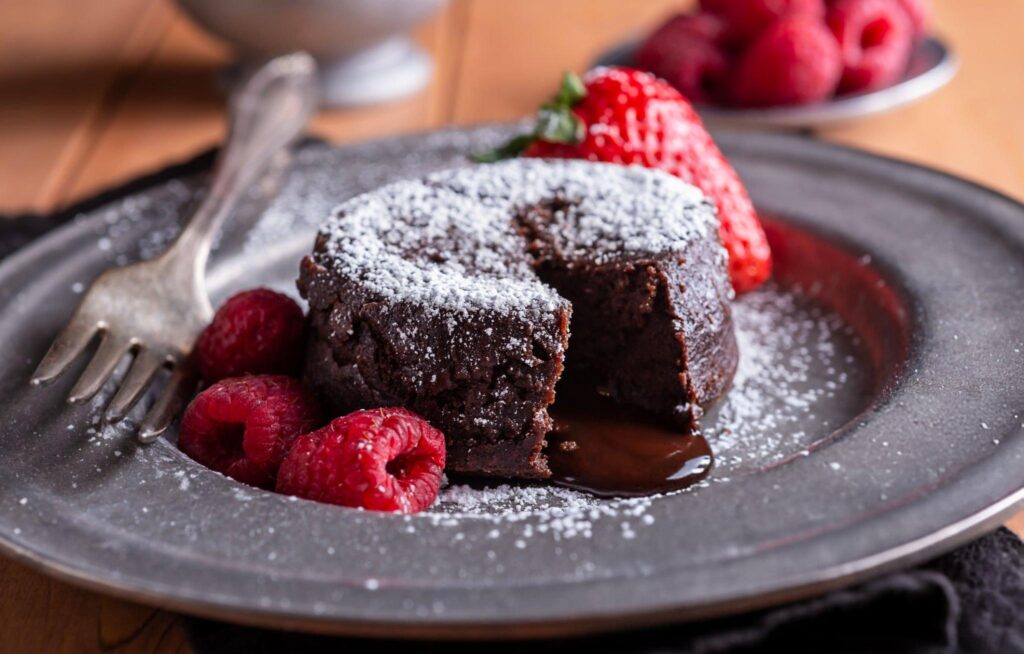
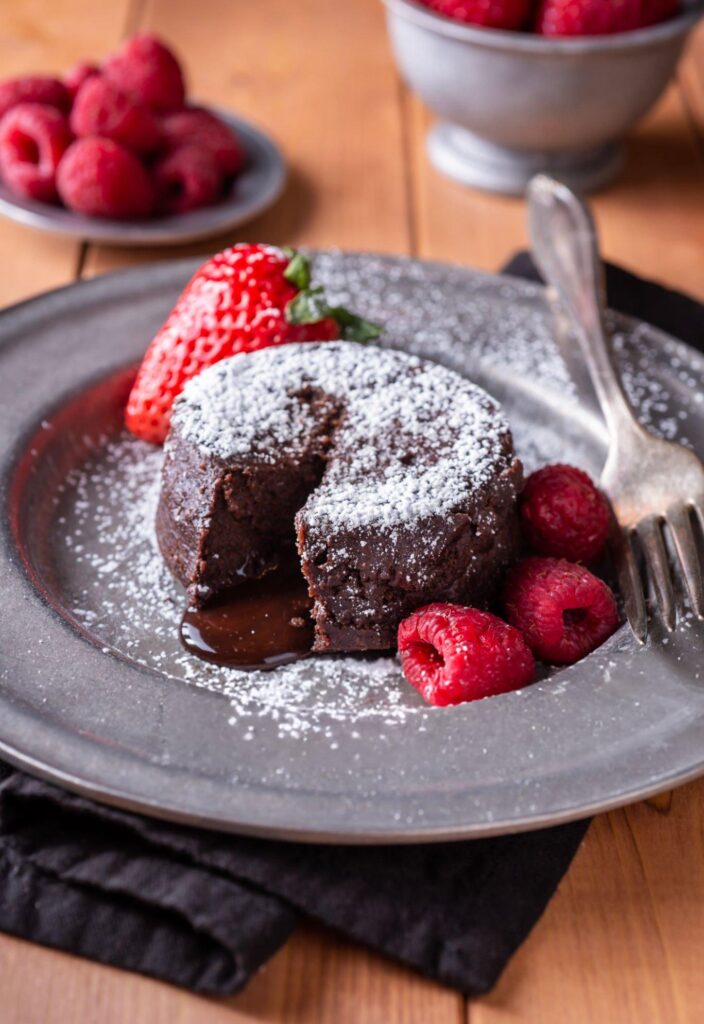
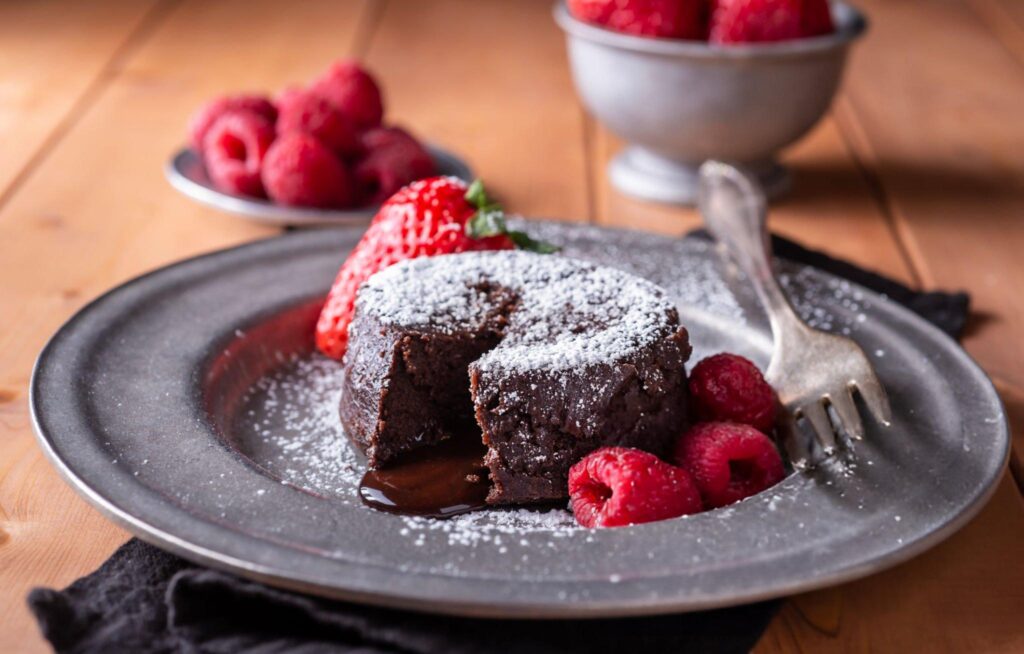
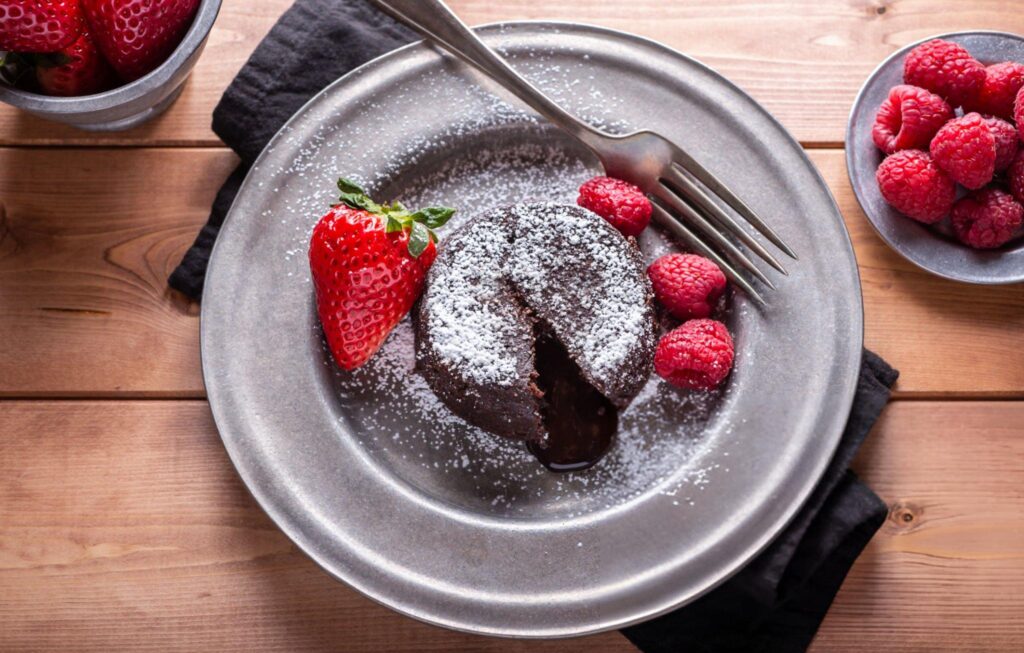
Fresh berries like raspberries or strawberries offer a tart contrast to the richness of the cake. A scoop of creamy vanilla ice cream melting against the warm cake creates a harmonious balance of temperatures and textures. Whipped cream, subtly flavored with vanilla or a splash of liqueur, adds a light and airy finish to each bite.

Creative Presentation Ideas
Presentation transforms a simple dessert into a culinary statement. Serve the cake on elegant plates, drizzling a light chocolate or berry sauce around the base. A sprinkle of powdered sugar creates a snow-dusted effect, while fresh mint leaves or chocolate curls add a sophisticated touch. For a dramatic flair, serve alongside sparklers or edible gold flakes to truly dazzle your guests.
Conclusion
This chocolate lava cake recipe is a testament to the magic of baking. Its combination of rich flavors, gooey texture, and visually stunning presentation guarantees it will be the highlight of any gathering. Embrace your creativity with garnishes and pairings, and don’t hesitate to experiment with new variations. Once you’ve mastered this classic dessert, you’ll find endless opportunities to impress friends, family, and, most importantly, yourself.

Chocolate Lava Cake
Ingredients
- 2 large eggs at room temperature
- 2 egg yolks at room temperature
- ½ cup 113 g unsalted butter
- 1 cup 170 g semi-sweet chocolate, preferably 50-60% dark chocolate of high quality (see note 1)
- ¼ cup 50 g soft light brown sugar
- ⅛ tsp salt
- ½ tsp vanilla extract or essence
- 3 tbsp 24 g all-purpose flour, sifted
- 2 tbsp powdered sugar for dusting before serving
Instructions
- Preheat your oven to 220°C (430°F) if using conventional settings. If you’re using a fan-assisted oven, refer to note 2 for adjustments. Generously grease and lightly flour four ramekins, each measuring approximately 3.5 inches (6 ounces). Ramekins of a slightly different size are acceptable; just modify the baking time accordingly.
- Place the butter and chocolate in a heatproof bowl. Melt them together using a double boiler or microwave. If opting for the microwave, heat in 20-second intervals, stirring between each burst, until the chocolate is almost fully melted. The residual heat will finish melting the chocolate as you stir it to a smooth consistency. Set this mixture aside for later use.
- In a separate large mixing bowl, combine the brown sugar, salt, vanilla extract, whole eggs, and egg yolks. Using a hand mixer or a stand mixer fitted with a whisk attachment, beat the mixture on medium speed for approximately five minutes. The result should be a pale, thick batter capable of forming ribbons that sit briefly on the surface before sinking back in.
- Carefully fold the melted chocolate and butter mixture into the egg mixture, ensuring it is fully incorporated. Gently sift in the all-purpose flour and continue folding with a spatula until the batter achieves a smooth and even texture.
- Divide the batter evenly among the prepared ramekins, filling each to about three-quarters full. To eliminate air bubbles, lightly tap the ramekins against the countertop once or twice. Place them on a baking tray for stability and bake in the preheated oven for 11-12 minutes. The edges should appear set, while the centers retain a slight jiggle when touched (see note 3 to avoid overbaking).
- Allow the ramekins to cool for about a minute before turning them out onto serving plates. Use a tea towel or oven mitts to handle the ramekins, as they will still be very hot. Let the cakes rest for 15 seconds after being inverted, then carefully lift the ramekins away. They should release effortlessly.
- Finish by dusting the tops with powdered sugar. Serve immediately with optional accompaniments like fresh berries, a scoop of ice cream, or a dollop of whipped cream for an indulgent touch.
