Gluten Free Vanilla Cake
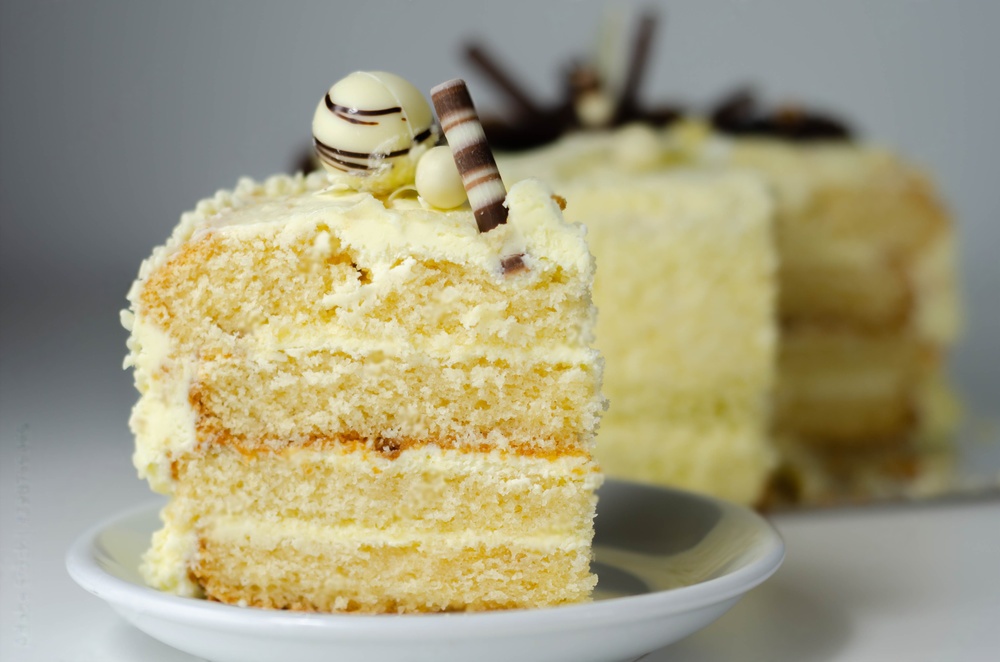
This gluten free vanilla cake is the perfect blend of light, fluffy texture and deep vanilla flavor, making it an irresistible treat for any celebration. Whether you’re baking for a birthday, holiday, or simply because you crave a sweet indulgence, this cake is versatile, reliable, and easy to prepare. The recipe’s straightforward approach, combined with gluten-free flour, ensures that everyone at your table can enjoy a delicious, classic dessert without compromise. Let’s dive into this delightful recipe that will become a staple in your kitchen!

Ingredients and Substitutions
Crafting a flawless gluten free vanilla cake starts with the right ingredients and a few clever substitutions to suit your pantry or dietary needs.
- The cake’s base features 3 cups of Measure for Measure Gluten Free Flour, ideal for recreating traditional cake textures without the gluten. King Arthur’s brand is highly recommended for its consistency and quality.
- Baking powder and baking soda are essential for lift and fluffiness. Ensure they are fresh to achieve the perfect rise.
- Buttermilk adds moisture and a slight tang that balances the cake’s sweetness beautifully. If buttermilk isn’t on hand, mix regular milk with a tablespoon of lemon juice or white vinegar and let it sit for five minutes this will mimic the acidity and texture of buttermilk.
- The richness of unsalted butter, along with a touch of vegetable oil, keeps the cake tender and flavorful. Softened butter, which holds its shape but is easy to press, is key to achieving a light and creamy batter.
- Granulated sugar provides the right amount of sweetness without overpowering the delicate vanilla notes, while room-temperature eggs ensure the batter blends smoothly.
For the vanilla buttercream, unsalted butter and confectioners’ sugar combine to create a luscious frosting. Adjust the milk to get the desired consistency add more for a softer spread, or use less for a firmer finish. The pinch of salt in the buttercream balances the sweetness and enhances the vanilla flavor.
Step-by-Step Instructions
Achieving the perfect gluten free vanilla cake involves precise steps and a little patience.
Start by preheating your oven to 350°F (175°C) and prepping three 8×2-inch round pans. Grease them well and dust with gluten-free flour to prevent sticking. This preparation will ensure the cakes release easily once baked.
Combine your dry ingredients gluten free flour, baking powder, baking soda, and salt in a medium bowl. Whisk for 30 seconds to ensure even distribution of the leavening agents, which will help the cake rise evenly. In a separate bowl, mix the buttermilk, vegetable oil, and vanilla extract, creating a well-blended liquid mixture that will add moisture and flavor.
In the bowl of a stand mixer, beat softened butter until smooth. Gradually add sugar, beating until the mixture turns light and fluffy, a process that typically takes 3 to 5 minutes. This step aerates the butter, which helps create a lighter cake texture. Add the eggs one at a time, mixing just until the yolks are fully incorporated.
To combine the ingredients, alternate between adding the dry flour mixture and the buttermilk mixture, starting and ending with the dry ingredients. Mix each addition just until combined to avoid overworking the batter, which can make the cake dense.

Divide the batter evenly among the prepared pans, smoothing the tops with a spatula. Bake for 25-30 minutes, checking with a toothpick inserted into the center. Once the toothpick comes out clean or with just a few crumbs, your cakes are ready. Allow them to cool in their pans for 10 minutes before turning them out onto a wire rack to cool completely.
Vanilla Buttercream Frosting
Creating the perfect buttercream is all about achieving the right balance of creaminess and stability. Begin by beating slightly softened butter until smooth and creamy. This initial step helps to eliminate lumps and create a silky base. Add the vanilla extract to infuse the frosting with a rich, aromatic flavor.
Gradually add half of the confectioners’ sugar along with most of the milk. Mixing on medium speed, continue to add the remaining sugar and adjust the milk until the frosting reaches your desired consistency. If it’s too thick, add a touch more milk; if it’s too soft, incorporate a bit more sugar. For the smoothest finish, reduce the mixer speed to low and beat for an additional 1 to 2 minutes to eliminate air pockets.
Store any extra buttercream in an airtight container in the freezer for up to three months. Thaw it on the countertop before using, and give it a quick mix to restore its texture.

Recipe Tips & Frequently Asked Questions
- Avoid Over-mixing: Overworking the batter can result in a tough, dense cake. Mix only until the ingredients are combined for a tender crumb.
- Room Temperature Ingredients: Ensure that butter, eggs, and buttermilk are at room temperature to help the batter emulsify properly.
- Perfect Cake Layers: Use a kitchen scale to divide the batter evenly among pans, and level the tops with a spatula for uniform layers.
What to Serve With This Recipe
This cake pairs wonderfully with a range of accompaniments. Serve slices with fresh berries or a dollop of whipped cream for added elegance. A scoop of vanilla or strawberry ice cream also complements the cake’s light and creamy texture. If you’re serving it for a special occasion, garnish with edible flowers or a drizzle of berry coulis for a vibrant finish.
For beverages, consider classic pairings like coffee or tea. A glass of cold milk adds a nostalgic touch, or, for adults, a flute of sparkling wine offers a sophisticated pairing.
Serving and Storing the Cake
To serve, slice the cake using a sharp knife dipped in hot water and wiped clean between cuts. This technique ensures neat slices without tearing the cake.

Store leftover cake layers wrapped in plastic wrap at room temperature for up to two days, or refrigerate if your kitchen is particularly warm. For frosted cakes, cover loosely with plastic wrap or place under a cake dome to maintain freshness.
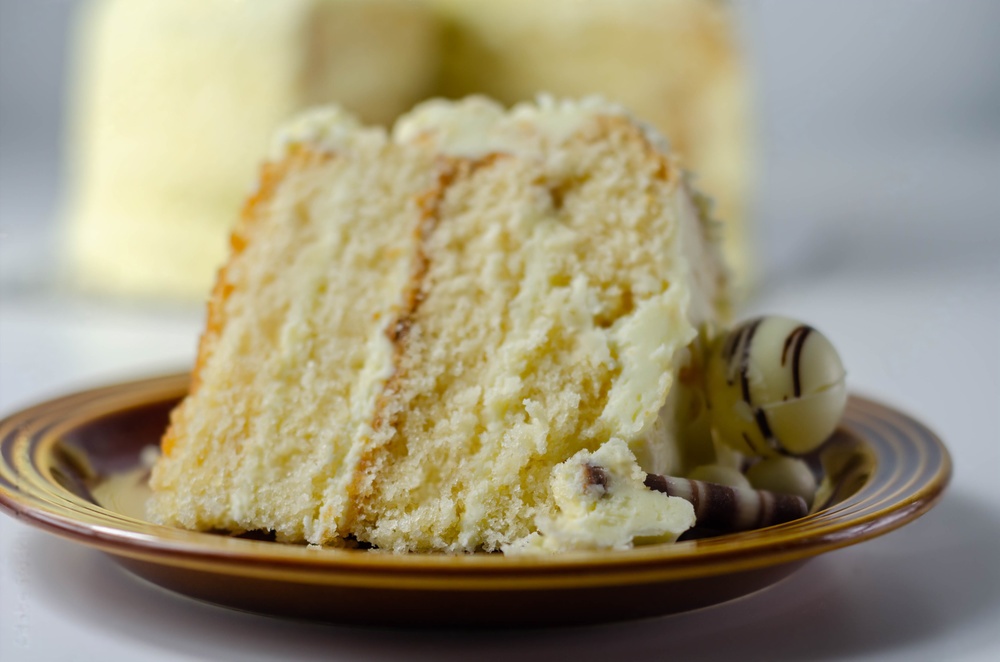
This gluten free vanilla cake is sure to impress with its tender crumb and delicate flavor, proving that gluten-free baking can be just as delicious and satisfying as traditional methods.

Gluten Free Vanilla Cake
Ingredients
For the Cake
- 3 cups 360g Measure for Measure Gluten Free Flour (we recommend King Arthur brand)
- 2 teaspoons 8g baking powder
- ½ teaspoon 3g baking soda
- ½ teaspoon 3g salt
- 1 ¼ cups 296g buttermilk (see substitution tips below if you don’t have buttermilk)
- ¼ cup 54g vegetable oil
- 3 teaspoons 12g vanilla extract
- 1 ½ sticks 170g unsalted butter, softened to the touch (it should hold its shape but give slightly when pressed)
- 2 cups 400g granulated sugar
- 4 large eggs at room temperature (to quickly warm eggs, place them in a bowl of warm water for five minutes)
For the Vanilla Buttercream
- 3 sticks 339g unsalted butter, slightly softened
- 8 cups 820g confectioners’ sugar
- ½ cup 120g milk, adjusted slowly to reach your desired frosting consistency
- 3 teaspoons 12g vanilla extract
- 1 teaspoon 6g salt
Instructions
For the Cake
- Preheat your oven to 350°F (175°C) and prepare three 8×2-inch round cake pans by greasing and flouring them.
- In a medium mixing bowl, whisk together the gluten-free flour, baking powder, baking soda, and salt for 30 seconds to evenly distribute the leavening agents. Set this mixture aside.
- In a separate bowl, combine the buttermilk, vegetable oil, and vanilla extract, stirring until well mixed. Set aside for later.
- In the bowl of a stand mixer, beat the softened butter at medium speed until it’s smooth and creamy. Gradually add the sugar, continuing to mix on medium speed for 3 to 5 minutes, or until the mixture becomes light in color and fluffy.
- Add the eggs one at a time, mixing just until each yolk is fully incorporated before adding the next.
- With the mixer on low, alternate adding the flour mixture and the buttermilk mixture, beginning and ending with the dry ingredients. Add the dry mixture in three parts and the liquid in two. Mix only until the batter is just combined after each addition to avoid over-mixing.
- Divide the batter evenly among the three prepared pans and smooth the tops with a spatula.
- Bake in the preheated oven for 25-30 minutes, or until a toothpick inserted into the center of each cake comes out clean or with just a few crumbs attached. Allow the cakes to cool in their pans for 10 minutes before turning them out onto a wire rack to cool completely.
For the Vanilla Buttercream
- Beat the slightly softened butter until smooth and creamy. Add the vanilla extract and blend until combined.
- Gradually add half of the confectioners’ sugar and most of the milk. Beat on medium speed until the mixture is smooth and the sugar is fully incorporated.
- Add the remaining sugar and milk, and continue mixing at medium speed for another 3 to 4 minutes, scraping down the sides of the bowl as needed. For a smooth, air-free buttercream, reduce the mixer speed to low (setting #2 on a Kitchenaid) and beat for an additional 1 to 2 minutes.
- This recipe yields approximately 4 ½ cups of buttercream, enough to generously frost a two-layer 8 or 9-inch cake. The buttercream can be stored in an airtight container and frozen for up to three months; thaw at room temperature before using.
- Adjust consistency as needed: if the buttercream is too thin, add more sugar; if too thick, add a touch more milk.
