Soft Stabilized Whipped Cream Frosting
Stabilized whipped cream frosting is a versatile and delicious addition to any dessert. With its smooth, creamy texture and ability to hold its shape, this frosting is perfect for decorating cakes, cupcakes, and pies. Unlike traditional whipped cream, this stabilized whipped cream frosting version stays firm for longer, making it ideal for both casual home baking and elaborate creations. Whether you’re piping intricate designs or simply spreading it over a dessert, this frosting adds elegance and a subtle sweetness that enhances the overall flavor.

Ingredients Breakdown
Every ingredient in this recipe plays a crucial role in creating the perfect stabilized whipped cream frosting.
Whipping cream serves as the foundation, providing the light and airy structure essential for whipped cream. Its high fat content is key to achieving that luxurious texture.
Mascarpone cheese is the secret ingredient that adds richness and ensures stability. This velvety Italian cheese binds the whipped cream, preventing it from collapsing over time.
Icing sugar, or confectioners’ sugar, not only sweetens the frosting but also contributes to its silky consistency. The fine texture of icing sugar blends seamlessly with the cream and mascarpone.
Finally, vanilla essence lends a touch of aromatic depth, subtly enhancing the flavor profile of the frosting without overpowering its delicate sweetness.
Step-by-Step Instructions
Chilling your ingredients and tools is the first and most crucial step. The colder your mascarpone, whipping cream, mixing bowl, and beaters, the better the results. This ensures the cream whips up faster and stays firm. Simply place your tools in the refrigerator for about 15 minutes before beginning.
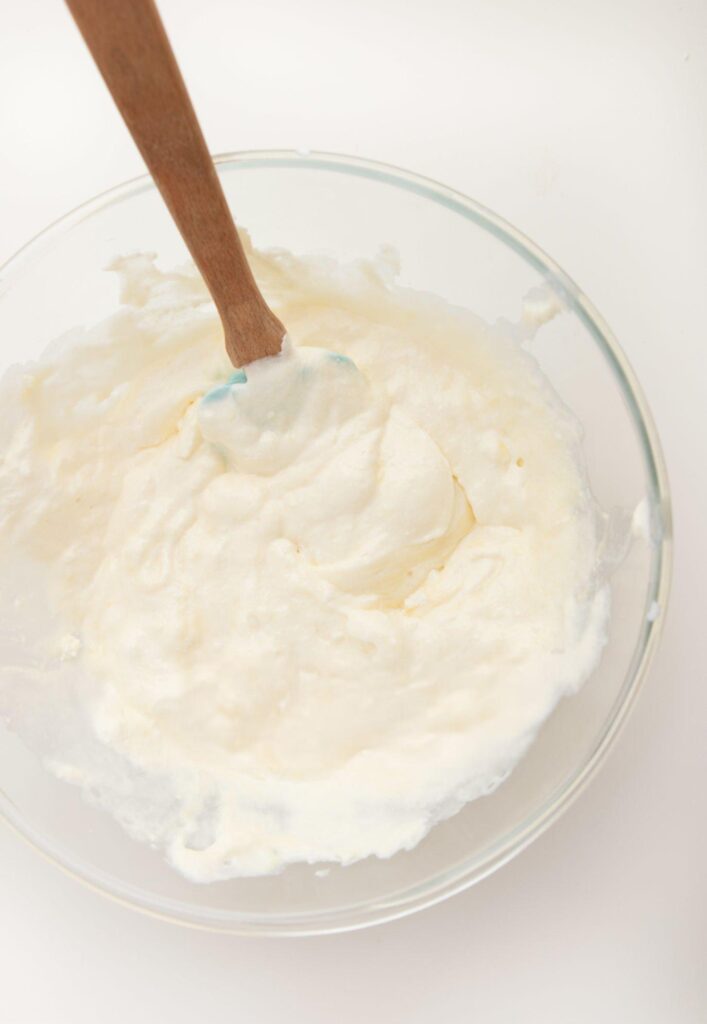
Start by combining mascarpone, icing sugar, and vanilla in a large mixing bowl. Begin mixing at a low speed to avoid scattering the powdered sugar. After 10 seconds, increase the speed to medium-high, whipping until the mixture becomes smooth and creamy. The mascarpone should integrate fully with the sugar, creating a silky base.

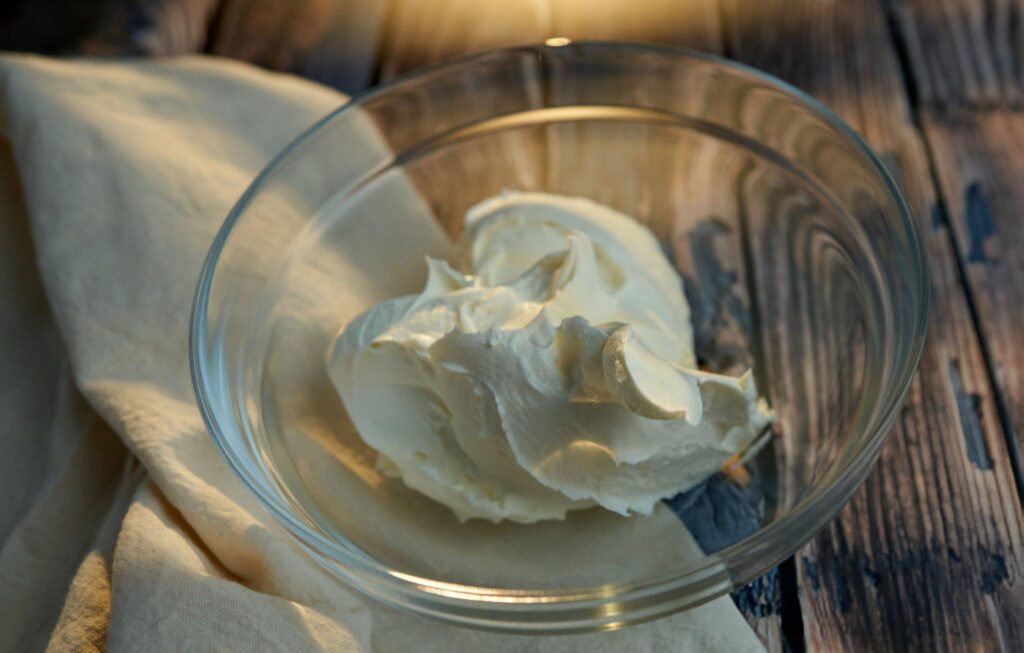
Once your base is ready, gently pour in the cold whipping cream. Again, start at a low speed to prevent splattering, then gradually increase to medium-high. Whip until the mixture reaches stiff peaks. Keep a close eye on the process overwhipping can lead to graininess or separation. Stop as soon as the frosting holds its shape when the beaters are lifted.
When finished, transfer the frosting to a clean container or piping bag and refrigerate until needed. Proper storage maintains its texture and stability, ensuring it’s ready for decorating whenever you are.

Recipe Tips & Frequently Asked Questions
- How to Avoid Overwhipping: Stop as soon as the frosting holds firm peaks. Watch for a glossy finish and avoid whipping past this stage to prevent curdling.
- Best Equipment to Use: A stand mixer with a whisk attachment is ideal, but a handheld electric mixer works just as well for smaller batches.
- Make-Ahead Tips: Prepare this frosting up to 24 hours in advance. Keep it refrigerated, and give it a gentle whisk before using if necessary.
- Customizing the Recipe: Add cocoa powder for a chocolate twist, citrus zest for a fresh flavor, or almond extract for a nutty undertone.
What to Serve With This Recipe
This frosting pairs beautifully with a wide variety of desserts. Use it to elevate simple cakes and cupcakes, adding a professional touch to your creations. Spread it over pies and trifles for an extra layer of decadence.
For an indulgent pairing, match this frosting with rich chocolate or velvety red velvet cake. Its subtle sweetness balances well with intense flavors. Alternatively, try it with light and airy vanilla cakes for a harmonious blend of textures.
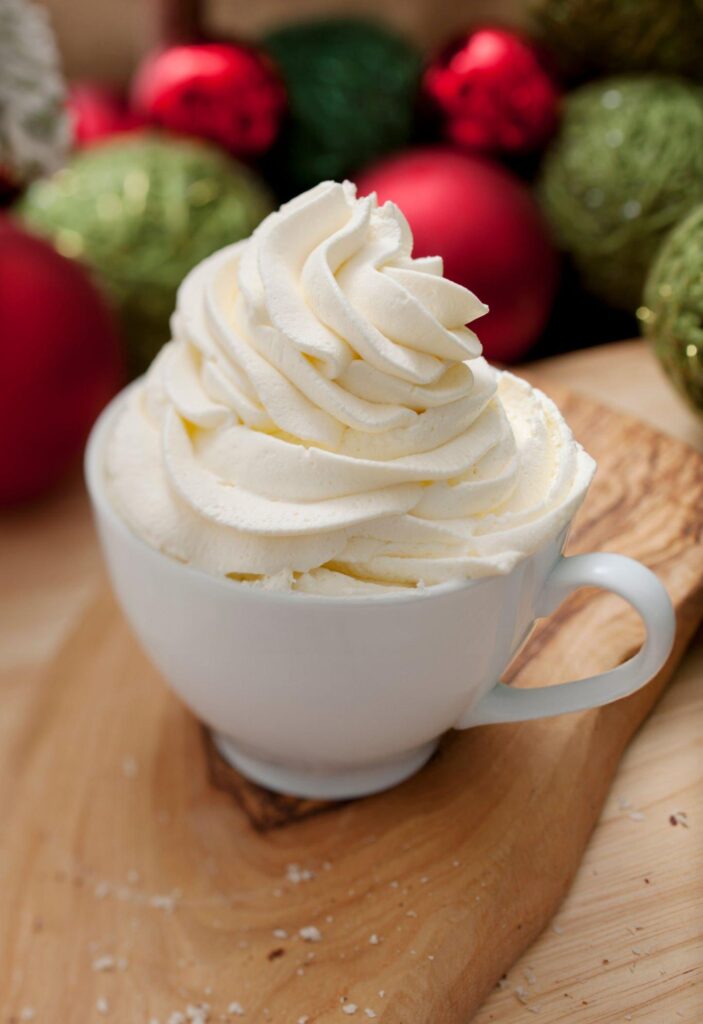
Beyond desserts, consider creative uses like dolloping it over hot cocoa, layering it in parfaits, or even serving it alongside fresh fruits for a simple yet elegant treat.

Storage and Make-Ahead Instructions
To keep your frosting fresh, store it in an airtight container in the refrigerator for up to 3 days. If you’re planning ahead, you can make the frosting the day before and refrigerate it until use. For longer storage, freezing is an option transfer the frosting to a freezer-safe bag and freeze for up to one month. Thaw in the refrigerator overnight and gently rewhip to restore its texture.
When transporting this frosting, especially for outdoor events or warm climates, use insulated containers or an ice pack to maintain its stability. This ensures your desserts arrive as stunning as they left your kitchen.
Conclusion
Stabilized whipped cream frosting is a game-changer for anyone looking to elevate their baking. Its unique combination of smooth texture, rich flavor, and remarkable stability makes it a must-try for dessert enthusiasts. Whether you’re crafting intricate designs or experimenting with flavors, this frosting is your perfect companion for a variety of sweet creations. Dive into the world of stabilized whipped cream frosting and enjoy its versatility in every bite!

Stabilized Whipped Cream Frosting
Ingredients
- 1½ cups 335 g cold whipping cream
- 1 cup 225 g cold mascarpone
- ½ cup 55 g icing sugar (also known as powdered sugar or confectioners’ sugar)
- 1 tsp vanilla essence or extract
Instructions
- To begin, ensure your mascarpone and whipping cream are well-chilled. For optimal results, chill the mixing bowl and beaters in the refrigerator for at least 15 minutes before starting.
- In a large mixing bowl, combine the mascarpone, vanilla essence, and icing sugar. Start by mixing on a low speed for about 10 seconds, just until the ingredients start blending. Gradually increase the speed to medium-high, whipping the mixture for approximately one minute, or until smooth and fully incorporated. If you’re using a stand mixer, fit it with the whisk attachment for this step.
- Next, pour in the cold whipping cream. Begin mixing on low speed for about 10 seconds to gently incorporate the cream without causing it to splatter. Once combined, increase the speed to medium-high and whip the mixture until stiff peaks form. Be attentive during this process to avoid overwhipping, as it can cause the cream to separate or become grainy.
- Your stabilized whipped cream frosting is now ready to use. Store it in the refrigerator until needed, and enjoy its perfect texture for decorating cakes, cupcakes, or any dessert of your choice!
