Boston Cream Pie Cupcakes
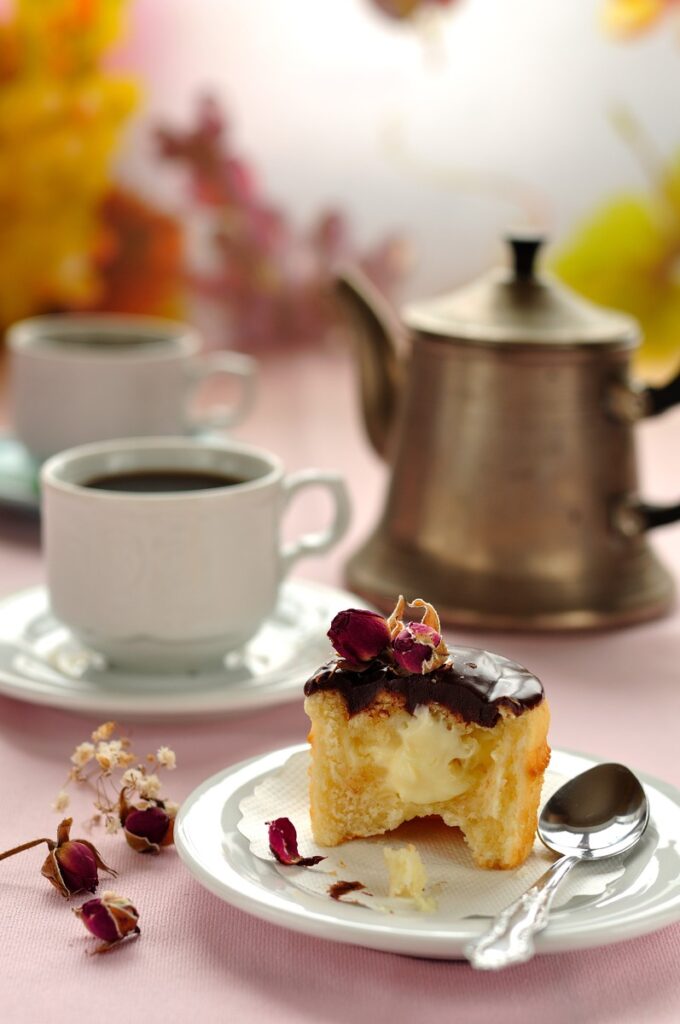
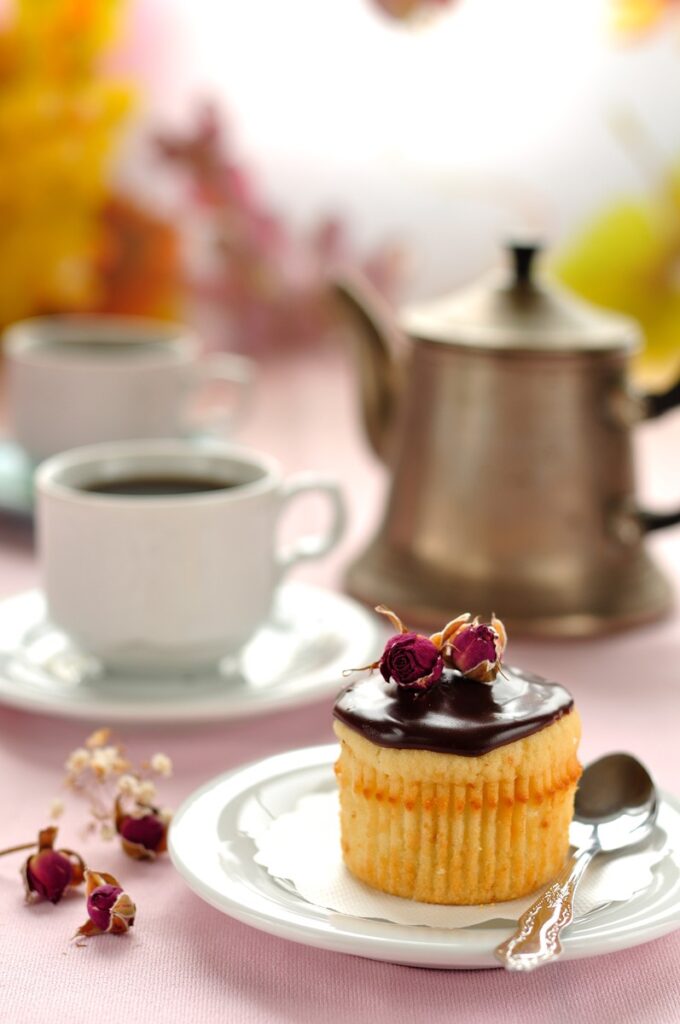
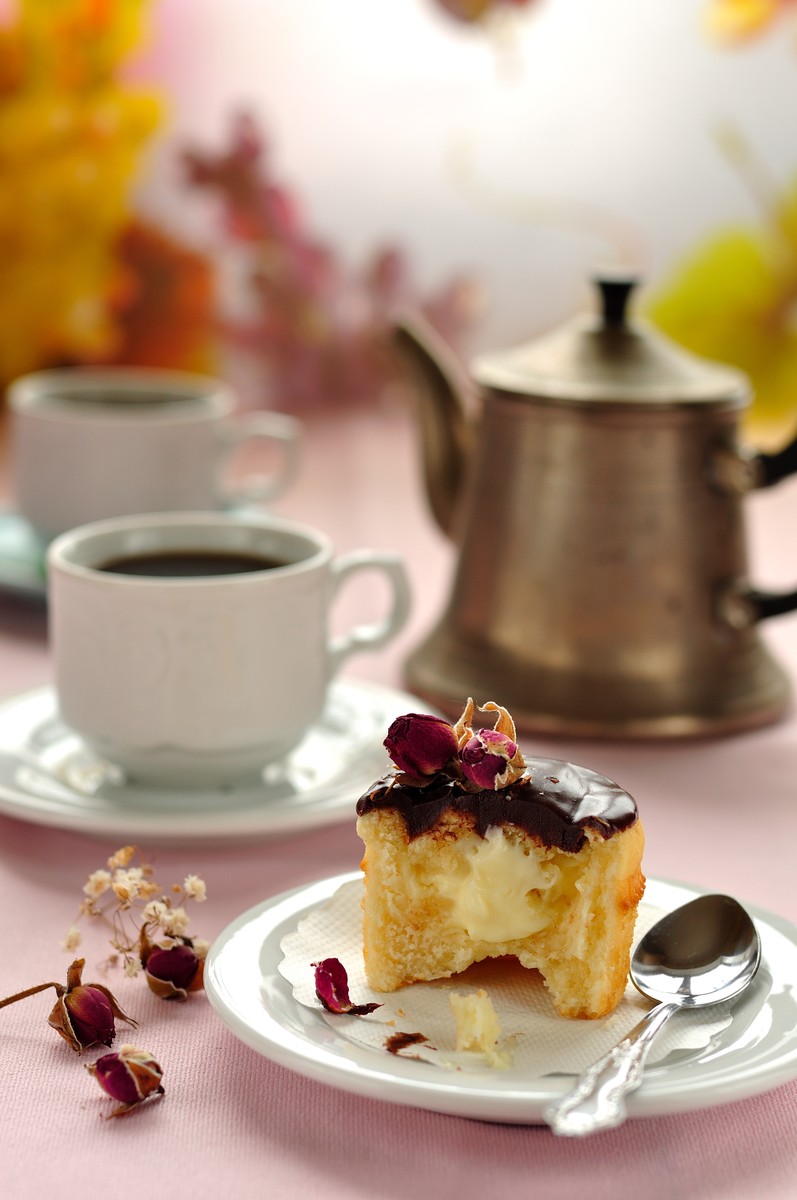
The Boston Cream Pie, a beloved American dessert, has taken on a new, delightful form in these cupcakes. Imagine the smooth, creamy vanilla filling and glossy chocolate glaze, all layered atop a tender, fluffy yellow cupcake. These boston cream pie cupcakes capture the essence of the classic dessert but in a bite-sized treat, perfect for gatherings or individual indulgence. Rich flavors of vanilla and chocolate intertwine in each bite, creating a harmonious balance of sweetness and decadence. This modern twist maintains the beloved components of the original dessert while adding a portable and easily shareable appeal.

Ingredients Overview: Building Blocks of a Perfect Boston Cream Pie Cupcake
To craft these cupcakes, high-quality ingredients are essential. The boston cream pie cupcakes themselves begin with a box of moist yellow cake mix, and we recommend Duncan Hines for its soft, airy results. Adding sour cream, extra flour, sugar, and a dash of vanilla pudding mix transforms the boxed cake mix into a rich, bakery-quality base.
For the creamy filling, a box of instant vanilla pudding combined with heavy cream creates a fluffy, mousse-like texture that’s both light and indulgent. When selecting chocolate for the glaze, semi-sweet or dark chocolate, like Ghirardelli chips, works best, as it complements the sweetness of the filling without overpowering it. For those seeking variety, dark chocolate can be swapped for bittersweet chocolate, adding a slightly more robust depth. Additionally, vegetable oil, such as canola, keeps the cupcakes tender and moist. These choices elevate the cupcake’s flavor and texture, making each element of this dessert shine.
Step-by-Step Instructions for Fluffy, Moist Cupcakes
Creating these boston cream pie cupcakes requires a few key steps to ensure they turn out light, tender, and perfectly shaped.
Mixing the batter is crucial: the dry ingredients should be whisked together before introducing the wet components. This ensures an even distribution of ingredients and helps prevent lumps in the batter. Adding sour cream and vanilla pudding mix enriches the texture and flavor, making for a soft and tender crumb. Once all ingredients are in the bowl, mix at a low speed for about 30 seconds, scraping down the bowl’s sides, then increase to medium speed for two minutes. This technique develops the batter, creating a smooth, airy consistency.
When baking, a consistent temperature of 350°F is ideal. Aim to fill each cupcake liner two-thirds full to allow for expansion without spilling over. Bake for around 18 minutes, and check for doneness by lightly pressing the tops or inserting a toothpick if it comes out with just a few crumbs, they’re ready. After baking, allow the cupcakes to cool in the pan for five minutes before transferring them to a cooling rack. This process helps maintain their delicate structure.
Creating the Vanilla Cream Filling: A Light and Fluffy Filling Guide
The vanilla cream filling is the heart of this dessert, offering a silky contrast to the cupcake’s crumb and chocolate glaze. Start by combining instant vanilla pudding mix with heavy cream in a mixing bowl. Using a hand mixer or whisk, begin on low speed until the mixture thickens, then increase to high to whip it into a fluffy, mousse-like consistency. If the filling becomes too thick, gradually add a tablespoon or two of extra cream to reach the desired smoothness. This filling should be creamy yet airy, and chilling it until you’re ready to assemble the cupcakes ensures it remains stable and easy to pipe. This filling complements the cupcake’s sweetness, adding a cool and refreshing layer in each bite.
Making the Chocolate Glaze: Achieving a Smooth, Glossy Finish
A smooth, glossy chocolate glaze is essential for these boston cream pie cupcakes. Place the chocolate and cream in a microwave-safe bowl, heating in small intervals to prevent burning. Begin with 40 seconds, stir, and continue in 10-second increments until nearly melted. Stirring at this point fully melts any remaining chocolate, creating a silky, fluid glaze without the risk of overheating. Allow the glaze to cool for 15-20 minutes so it thickens slightly, making it ideal for dipping without running down the sides of the cupcakes. If the glaze sets too much, a quick reheat can bring it back to dipping consistency. A gentle hand with heating yields a smooth, luxurious finish that contrasts perfectly with the creamy filling and soft cupcake base.

Assembling the Boston Cream Pie Cupcakes: Filling and Glazing Techniques
With each component ready, it’s time to bring these boston cream pie cupcakes together. First, fill a piping or ziplock bag with the vanilla cream filling, snipping a small corner. Insert the tip halfway down into the center of each cooled cupcake and squeeze for a few seconds, ensuring each bite will have the creamy center. Then, dip each cupcake top into the chocolate glaze, allowing excess to drip off for a clean, smooth finish. Carefully set each cupcake upright, letting the chocolate set slightly before serving. For presentation, arrange the cupcakes on a platter or cake board for an elegant look that shows off their glossy tops and promises indulgence.
Recipe Tips & Frequently Asked Questions
- Storage Advice: Due to the perishable filling, these boston cream pie cupcakes should be stored in the refrigerator, preferably in an airtight container. However, let them sit at room temperature for an hour or two before serving, as this enhances the flavor and texture.
- Make-Ahead Tips: Each component can be prepared a day in advance. The boston cream pie cupcakes can be baked and stored at room temperature, the filling can be refrigerated, and the glaze can be covered and set aside, reheating slightly if it thickens.
- Serving Temperature: Serving these boston cream pie cupcakes slightly chilled or at room temperature enhances their texture, as the filling becomes creamier and the chocolate softens slightly.
- Can I Use a Different Cake Mix?: Yes, though a yellow cake mix is traditional, a vanilla mix would work for a lighter flavor profile.
- What if My Glaze Is Too Thick?: Simply microwave it in short bursts, stirring until it reaches the ideal dipping consistency.
- How Long Will These Cupcakes Last?: Properly stored, they can last up to three days in the refrigerator, though their texture is best within the first 24 hours.

What to Serve with This Recipe
These boston cream pie cupcakes pair wonderfully with beverages that balance their sweetness and richness. Hot drinks like coffee or tea are perfect accompaniments, providing a contrast to the creamy filling and chocolate glaze. For a more sophisticated pairing, a light dessert wine or champagne can elevate these cupcakes, creating an indulgent experience that’s both elegant and satisfying. Additional dessert options, such as fresh berries or a small scoop of vanilla ice cream, can create a charming dessert plate that complements the cupcakes without overshadowing them. Whether enjoyed as the centerpiece or part of a dessert spread, these boston cream pie cupcakes are sure to impress with their layered flavors and elegant appearance.

Boston Cream Pie Cupcakes
Ingredients
For the Cupcakes
- 1 box Yellow Cake Mix 15.25 oz, we recommend Duncan Hines Moist Yellow Cake
- ½ cup sour cream 242g
- ½ cup all-purpose flour 60g
- ½ cup white sugar 100g
- ½ cup vegetable oil such as canola (108g)
- 1¼ cups water 302g
- 1 small box vanilla instant pudding mix 3.9 oz, we prefer Jello Brand; use dry powder only
- 3 large eggs
- 3 teaspoons vanilla extract 12g
Vanilla Cream Filling
- 1 small box instant vanilla pudding 3.9 oz/96g, Jello Brand suggested
- 2 cups heavy cream or whipping cream you may need a little extra if mixture is too thick (464g)
For the Chocolate Glaze
- 5 oz semi-sweet or dark chocolate we recommend Ghirardelli chocolate chips
- 5 oz heavy cream
Instructions
For the Yellow Cupcakes
- Preheat your oven to 350°F (175°C). Line your cupcake pan with paper liners to prepare for about 24-26 cupcakes.
- In a large mixing bowl, add the cake mix, flour, sugar, and pudding mix. Use a whisk to combine these dry ingredients thoroughly.
- Add sour cream, oil, water, eggs, and vanilla extract to the dry mixture. Mix on low speed for about 30 seconds, scraping down the sides and bottom to incorporate everything evenly.
- Continue mixing on medium speed for two minutes until the batter is smooth and consistent.
- Portion the batter into the cupcake liners, filling each about two-thirds full, roughly ¼ cup of batter per cupcake.
- Bake for 18 minutes or until the tops spring back when lightly pressed, or until a toothpick inserted comes out with only a few moist crumbs.
- Allow the cupcakes to cool for 5 minutes in the pan before transferring them to a cooling rack to avoid over-baking.
For the Vanilla Cream Filling
- In a mixing bowl, combine the pudding mix and heavy cream. If using a hand mixer, start at low speed, gradually increasing to high, until the mixture is thick and fluffy. A whisk can also be used to beat the mixture by hand until it reaches a mousse-like texture.
- Adjust the consistency by adding a tablespoon or two of extra cream if needed.
- Refrigerate the filling until you’re ready to assemble, as this filling is best kept chilled.
For the Chocolate Glaze
- Place the chocolate and cream in a microwave-safe bowl. Heat in short intervals, beginning with 40 seconds. Stir, then continue heating in 10-second intervals until the chocolate is almost completely melted. Stir to fully melt the chocolate into a smooth glaze.
- Let the glaze cool for 15-20 minutes until it’s slightly thickened but still fluid enough for dipping. If it thickens too much, a brief microwave session will soften it again.
- Use caution with heating times, especially if using a larger bowl, as the glaze will heat more quickly.
Assembling the Cupcakes
- Fill a disposable piping bag or a ziplock bag with the cream filling, cutting a small tip off the corner. Insert the bag halfway down into each cupcake and squeeze gently for 3-4 seconds to fill.
- Once filled, dip the top of each cupcake into the chocolate glaze, allowing any excess to drip off. Set the cupcake upright on a platter or cake board.
- Due to the filling and glaze, store the cupcakes in the refrigerator, but let them sit at room temperature for 1-2 hours before serving to ensure the best texture and flavor.
