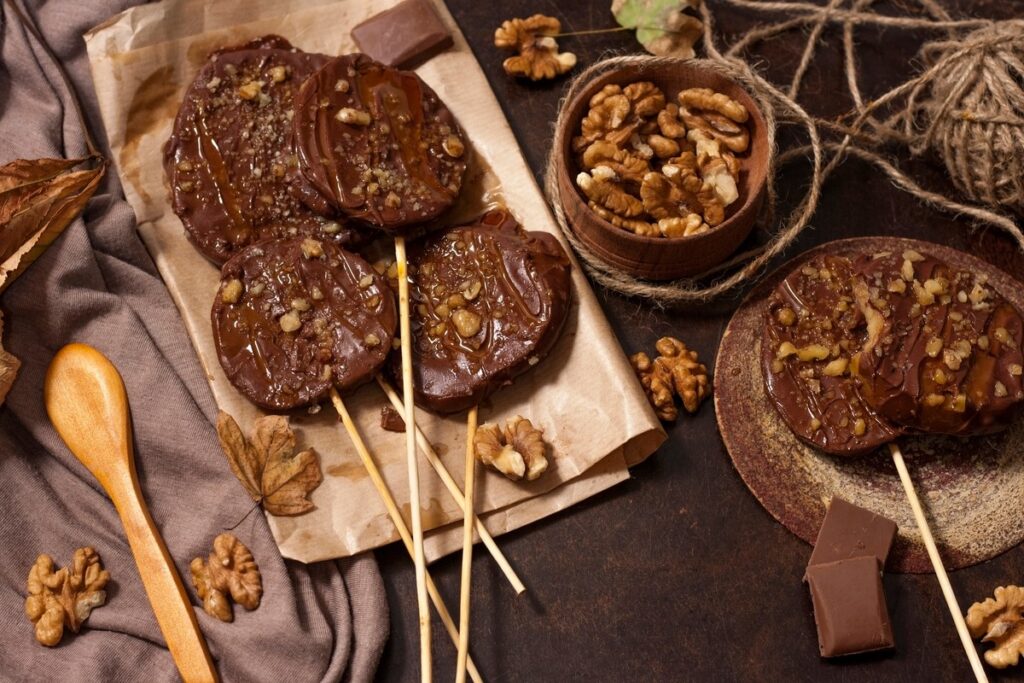
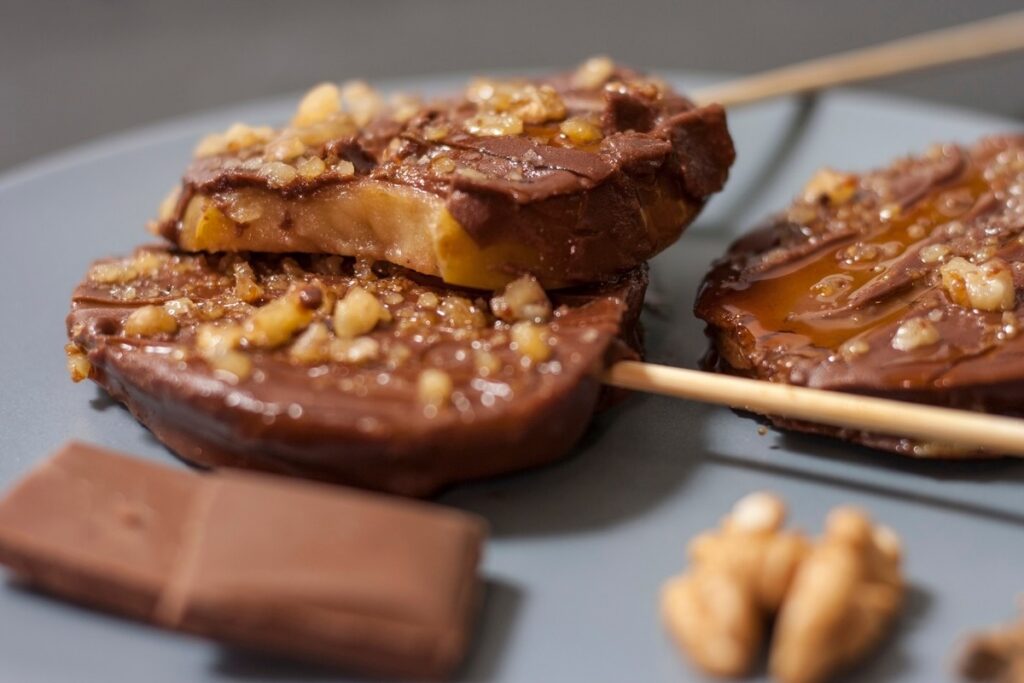
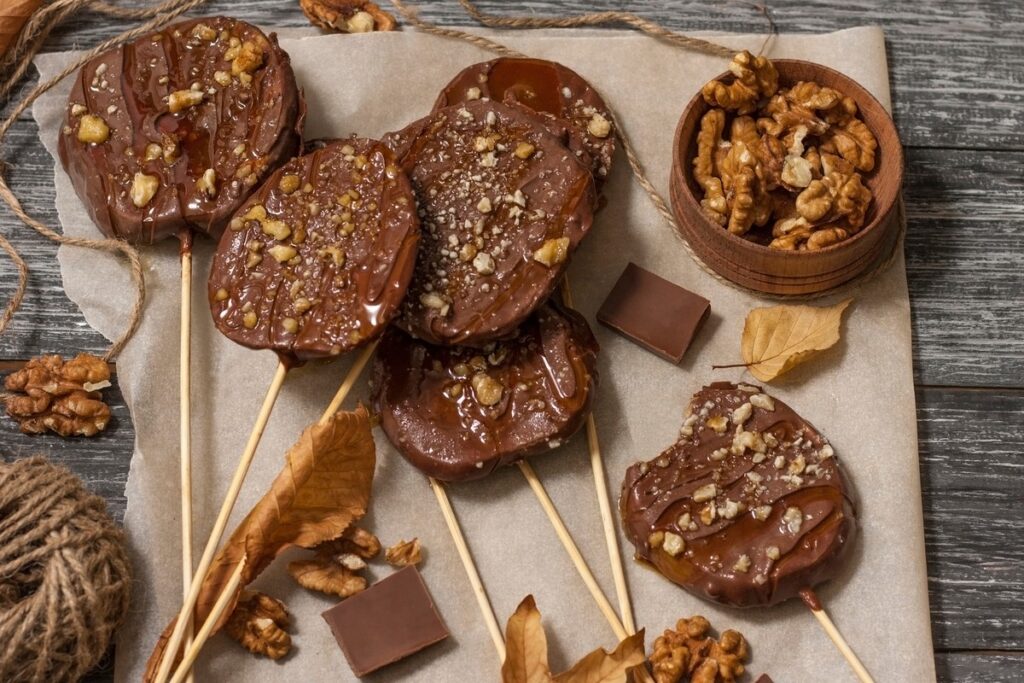
Rich Chocolate Covered Apples Recipe
Chocolate covered apples are a delectable treat that perfectly balances the crisp freshness of fruit with the rich indulgence of chocolate. With endless customization options, they’re an irresistible choice for any occasion. This article will guide you through crafting this simple yet elegant dessert.
Why You’ll Love This Chocolate Covered Apples Recipe?
Chocolate covered apples are a versatile delight that caters to any celebration or casual snack craving. They’re perfect for festive gatherings, serving as a unique dessert centerpiece, or simply as a thoughtful homemade gift. With the ability to customize the recipe by using different types of chocolate and toppings, you can create a version that appeals to every palate. The process is also wonderfully interactive, making it an enjoyable activity to share with children, sparking creativity and laughter in the kitchen.

Ingredients You’ll Need
The success of this Chocolate Covered Apples recipe lies in selecting high-quality ingredients tailored to your preferences.
The type of chocolate you choose significantly influences the final flavor. Dark chocolate offers a deep, bittersweet profile, while milk chocolate provides a creamier, sweeter touch. White chocolate brings a luscious, velvety sweetness to the mix. Opt for premium melting wafers or chocolate chips to ensure a smooth coating.
When selecting apples, firm and crisp varieties like Granny Smith add a delightful tartness that contrasts beautifully with the sweet chocolate. Alternatively, Fuji or Honeycrisp apples deliver a juicier and sweeter bite.
Don’t underestimate the power of toppings! Beyond chopped nuts and crushed cookies, consider freeze-dried fruits, edible glitter, or even crumbled toffee for added flair and texture.

Step-by-Step Instructions
Achieving perfectly coated chocolate covered apples is a breeze when you follow these detailed steps.
Begin by preparing the apples. Slice them vertically into even sections, aiming for 4–5 slices per apple. Use a melon baller to remove the seeds and core neatly, ensuring each slice is smooth and easy to handle.
For the chocolate, place your chosen chips or wafers in a microwave-safe bowl. Heat them in short, 30-second bursts, stirring between intervals to prevent overheating and ensure a glossy, lump-free consistency. If needed, incorporate a small amount of coconut oil to make the chocolate extra silky.
Once the chocolate is ready, dip each apple slice, ensuring both sides are thoroughly coated. Allow excess chocolate to drip off before placing the slice on a parchment-lined tray. Quickly add your chosen toppings before the chocolate sets.
Finally, chill the tray in the refrigerator for 1–2 hours or in the freezer for a speedier option. This step allows the chocolate to firm up beautifully, creating a delightful snap when bitten into.

Recipe Tips
- Avoiding Chocolate Seizing: Use clean, dry utensils and avoid introducing water to the chocolate to prevent clumping.
- Preventing Apples from Browning: Soak apple slices briefly in lemon water and pat dry before dipping.
- Storage Hacks: Store in an airtight container in the fridge for up to two days to keep the apples fresh and crisp.
What to Serve With This Recipe
Pair these chocolate-covered apples with indulgent dips like caramel sauce or creamy peanut butter for an extra layer of flavor. Complement the sweetness with drinks like hot chocolate or a refreshing apple cider. When entertaining, these treats shine as part of a dessert board, surrounded by brownies, cookies, and fresh berries, creating a visually stunning spread.

Creative Variations
Elevate your chocolate-covered apples with imaginative touches. Drizzle contrasting chocolate across the slices for an artistic effect or add sprinkles and edible glitter to make them pop. For themed events, tailor the toppings to match the occasion, such as red and green sprinkles for Christmas or pastel colors for Easter. Experiment with gourmet ideas like infusing the chocolate with a hint of cinnamon or cayenne pepper for a sophisticated twist.
Recipe Tips & Frequently Asked Questions
- Avoiding Chocolate Seizing: Ensure utensils are completely dry to prevent the chocolate from clumping.
- Preventing Apples from Browning: Soak the slices in lemon water before drying them thoroughly.
- Storage Hacks: Keep in the refrigerator to maintain freshness, but enjoy within 48 hours for the best taste.
- Can I Use Other Fruits? Yes, pears, bananas, and strawberries are great alternatives for this recipe.
- How Far in Advance Can I Make These? You can prepare them a day ahead but store them chilled to retain freshness.
- What if I Don’t Have Popsicle Sticks? Use forks, skewers, or simply serve as wedges without sticks for an easy alternative.
Final Thoughts and Serving Suggestions
Chocolate-covered apples are more than a dessert; they’re an experience. These treats double as a creative activity and a delicious indulgence, making them a memorable gift or party feature. Encourage your creativity by experimenting with various flavors, textures, and designs. Whether you’re serving them at a festive gathering or as a midweek pick-me-up, these chocolate-covered apple slices promise to delight.

Chocolate Covered Apples Recipe
Ingredients
- 1 cup 60 oz., 170 g dark, milk, white chocolate chips, or melting wafers
- 2 medium apples
- ¼ – ½ cup assorted toppings: chopped nuts crushed cookies, pretzels, or mini candies
Instructions
- Prepare a baking tray by lining it with wax or parchment paper, then set it aside for later use.
- Carefully slice the apples vertically from the stem end to the base, aiming for about 4–5 slices per apple. For a cleaner presentation, use a melon baller or small spoon to remove the seeds and the hard core from the slices.
- Insert food-safe popsicle sticks halfway into the base of each apple slice. This step is optional if preferred, serve the apple slices as wedges, with or without sticks.
- Place the chocolate chips or melts in a large, microwave-safe bowl. If desired, add a small amount of coconut oil to create a smoother consistency. Melt the chocolate in the microwave in 30-second intervals, stirring thoroughly after each burst, until completely smooth and creamy.
- Dip each apple slice into the melted chocolate, ensuring both sides are generously coated. Once coated, lay the slice on the prepared baking tray. Quickly sprinkle your chosen toppings over the chocolate before it sets.
- Transfer the tray to the refrigerator for 1–2 hours, or to the freezer for a quicker setting time of approximately 30–45 minutes.
- Enjoy these delightful chocolate-covered apple slices as a sweet and satisfying treat!
